
Styling Flat Lays using Layers
Styling flat lays can be challenging .. just ask me! Even after ten years of styling flat lays, I still struggle when setting up. If you think you’re the only person in the world that has trouble with this type of still life photography, rest assured, you are not alone.
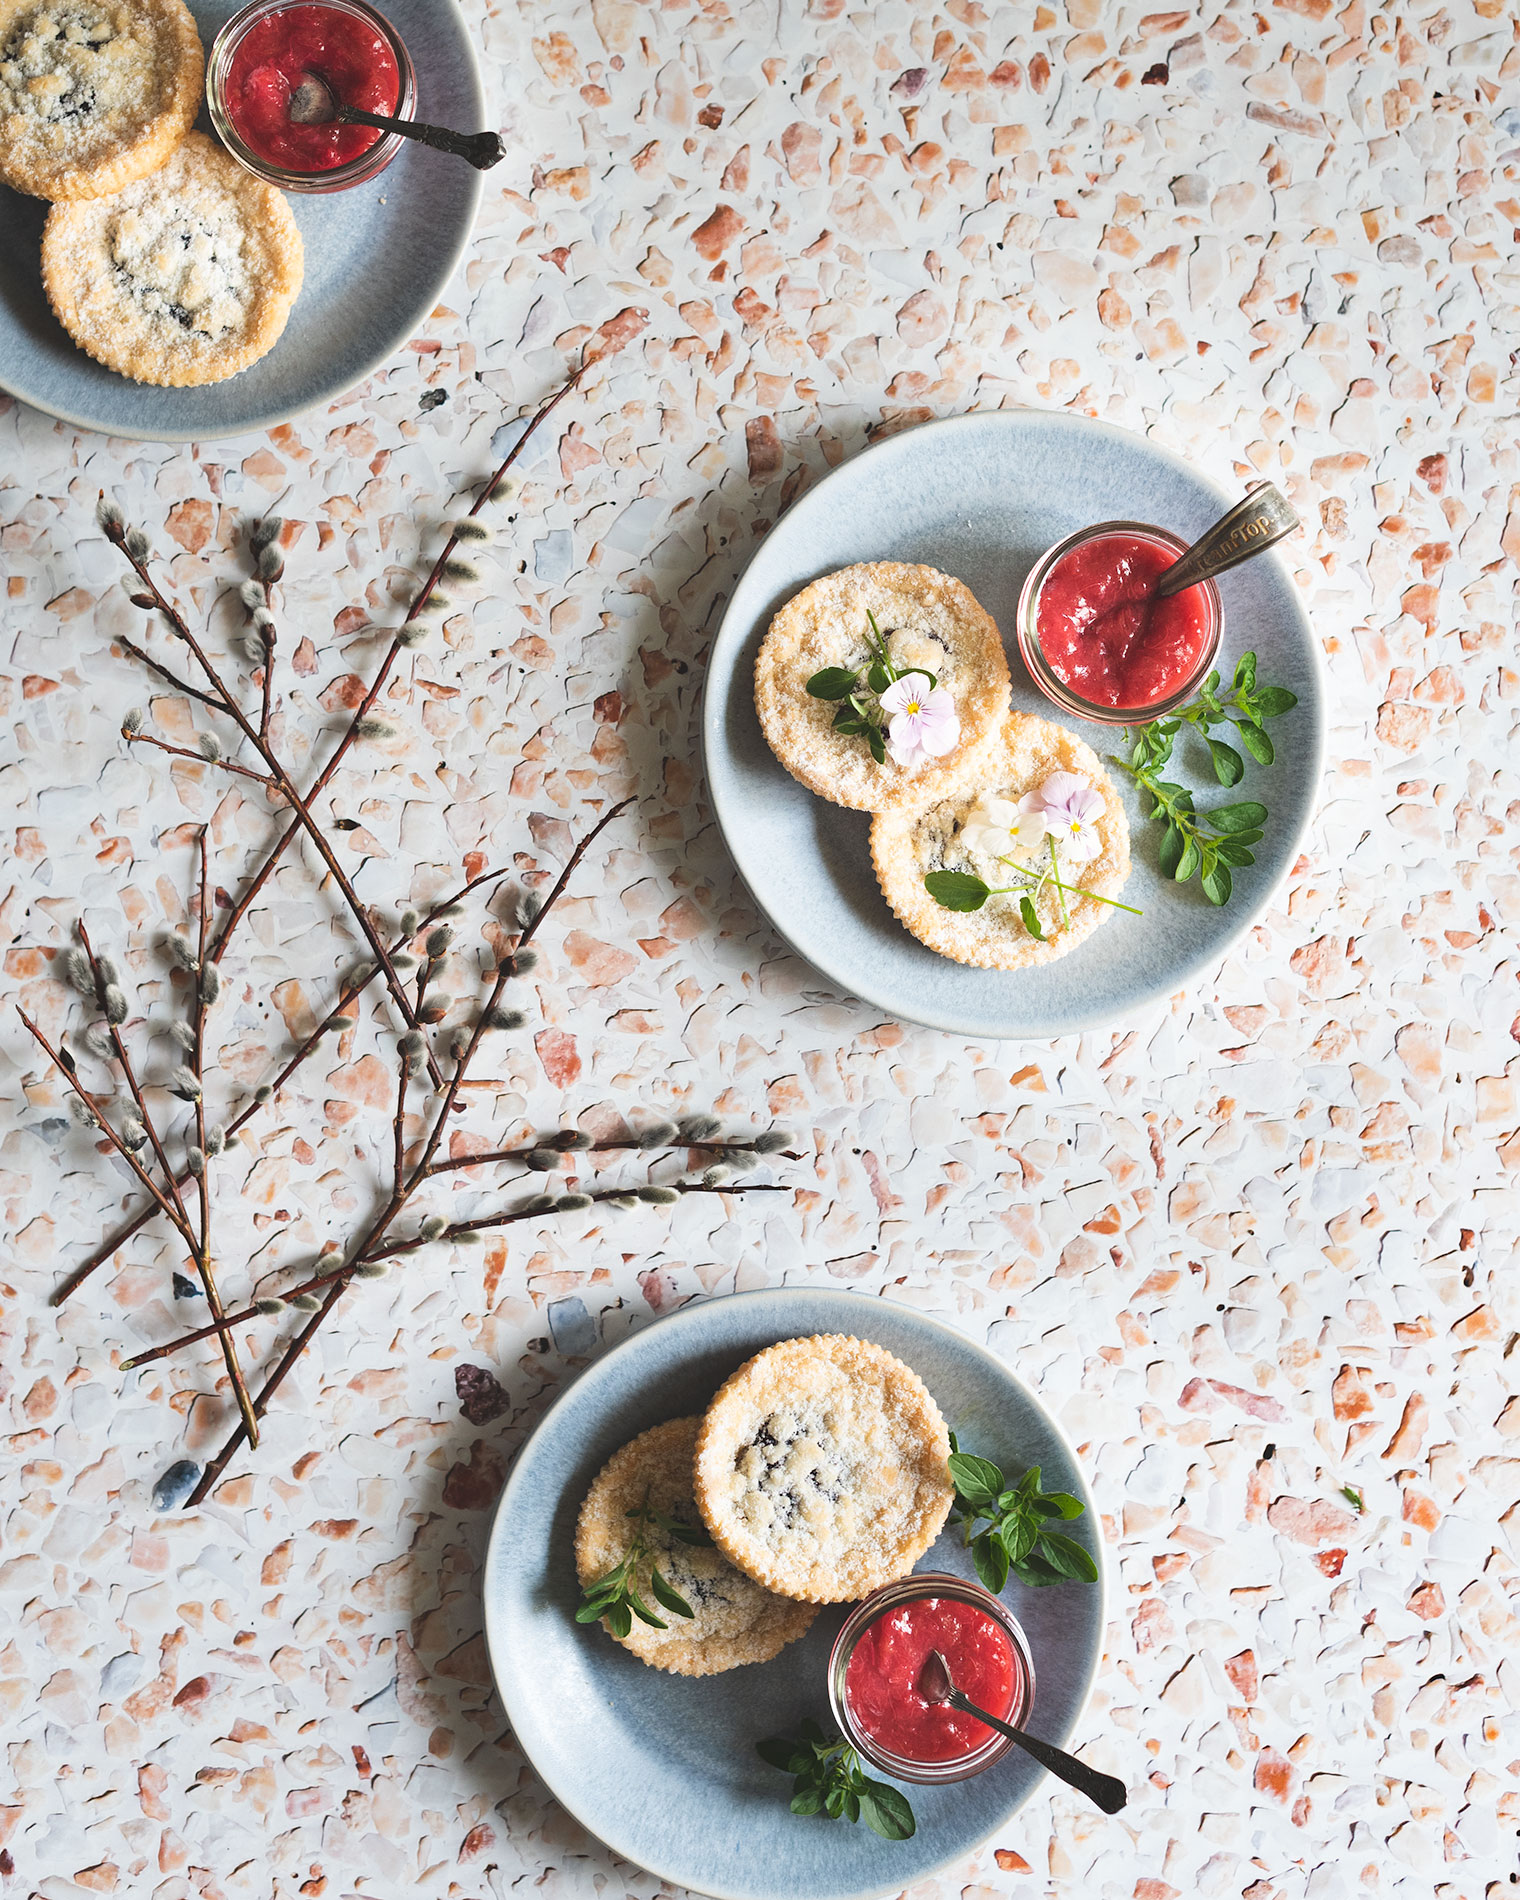
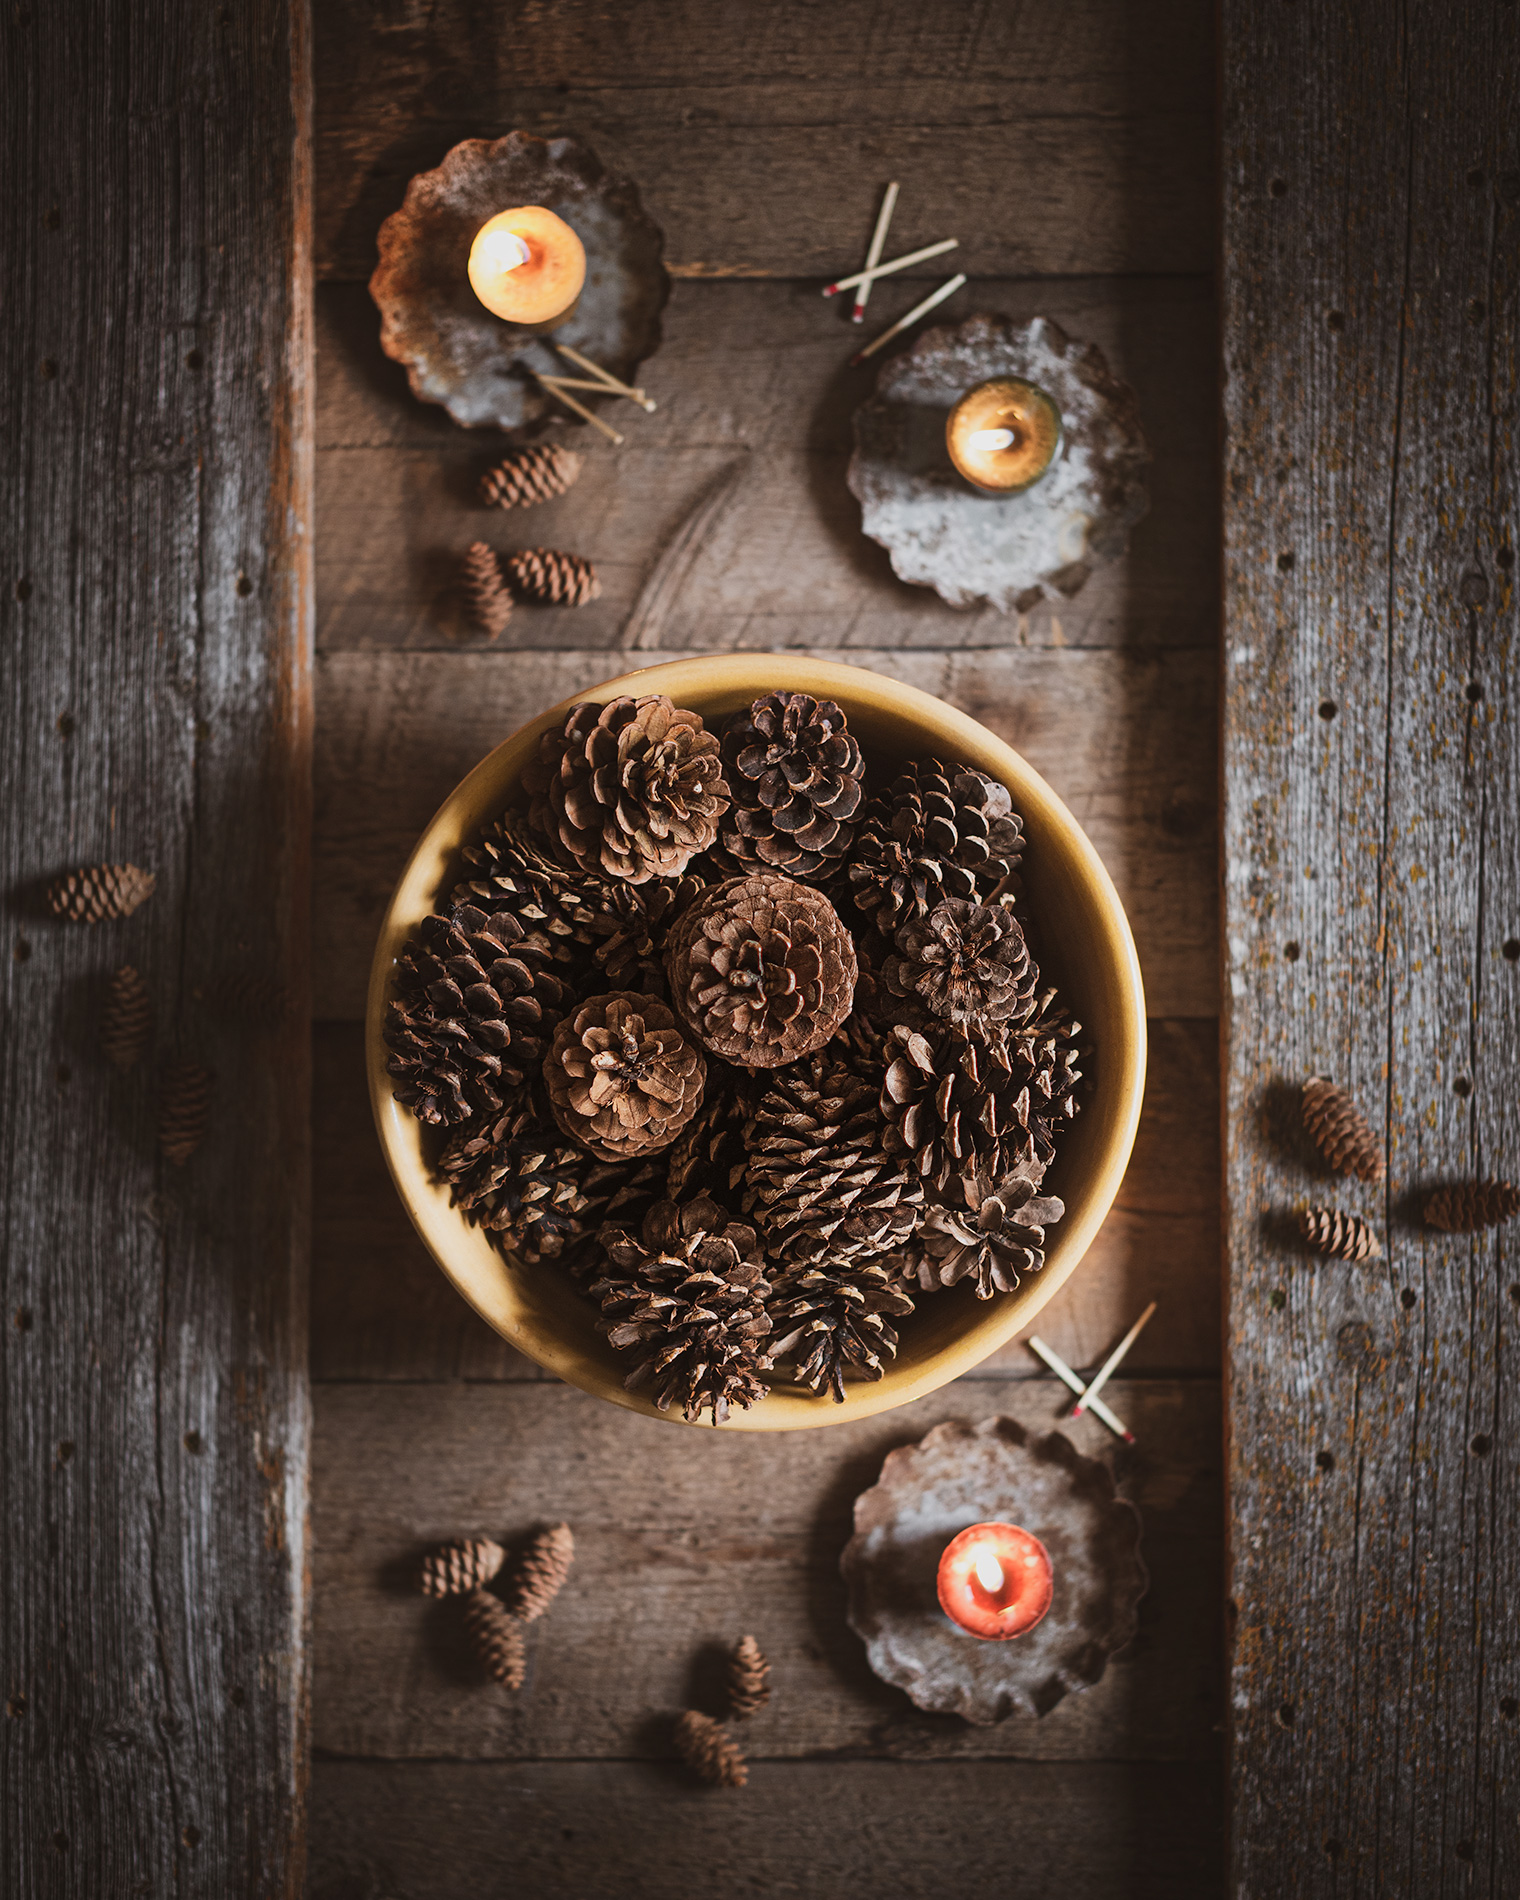
Today, I’m sharing the steps that led me to create the following image. At a glance it tells a story: it’s probably Christmas, and I’ve been baking.

The first thing I do is choose the right background. A background helps to convey the mood I’m trying to achieve.
For me, inspiration often comes from a background. A concrete countertop definitely says baking! This concrete countertop is currently retired, but there are many other suitable backgrounds which you can find in the Shop.

I will make sure to use layers. Layer, layer, layer! and use multiples, especially in odd numbers:

Add the star of the layout, which of course, is cookies. Here’s one of my first shots. I added small bowls of crushed nuts and shaved chocolate to help tell the story.

In the following image I decided to move most of the bowls to the bottom and added evergreens and messy spills of chocolates and nuts.
When I’m happy with the basic layout, I edit the final image to sharpen, add contrast, and adjust light and shadow.
This is just a simple explanation of how I set up for this shot. There’s a bit more going on behind the scenes in terms of setup and lighting, but I’ll save that for another time, but here are a few tips for setting up for a shoot.
Tips for Setting up for a photo shoot
- for flat lays, I recommend placing the background on a smooth surface such as a large piece of white foam core (available at most craft stores)
- the backgrounds are well suited for top-down photography with the camera placed at least 2-3 feet above your subject
- for a vertical image where the background is used as a “wall”, secure the background to foam core with a few pieces of masking tape, and position it behind your scene.
More Tips on Styling Flat Lays
-
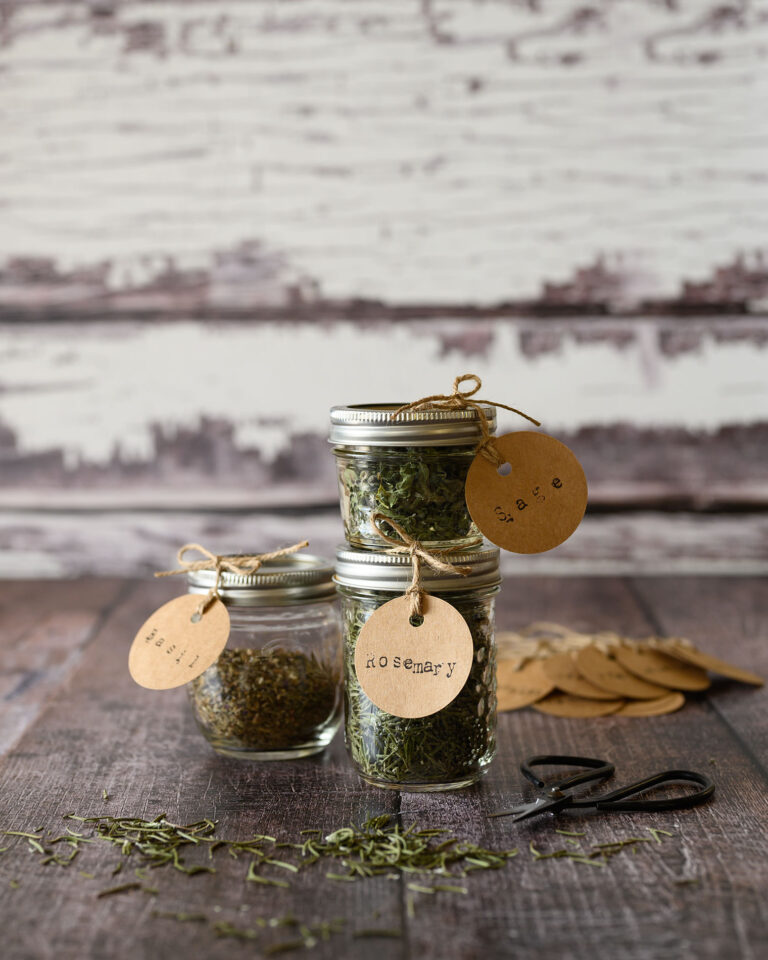
Ways to Use Herb Tags in Your Images
There are many ways to use herb tags in your still life photography. I often use tags in flat lays but they look great when shooting “into the frame”. Shooting into the frame is sometimes…

Found this to be very helpful as I do shoot a lot of food subjects. Thanks heaps. Your cookies look divine.
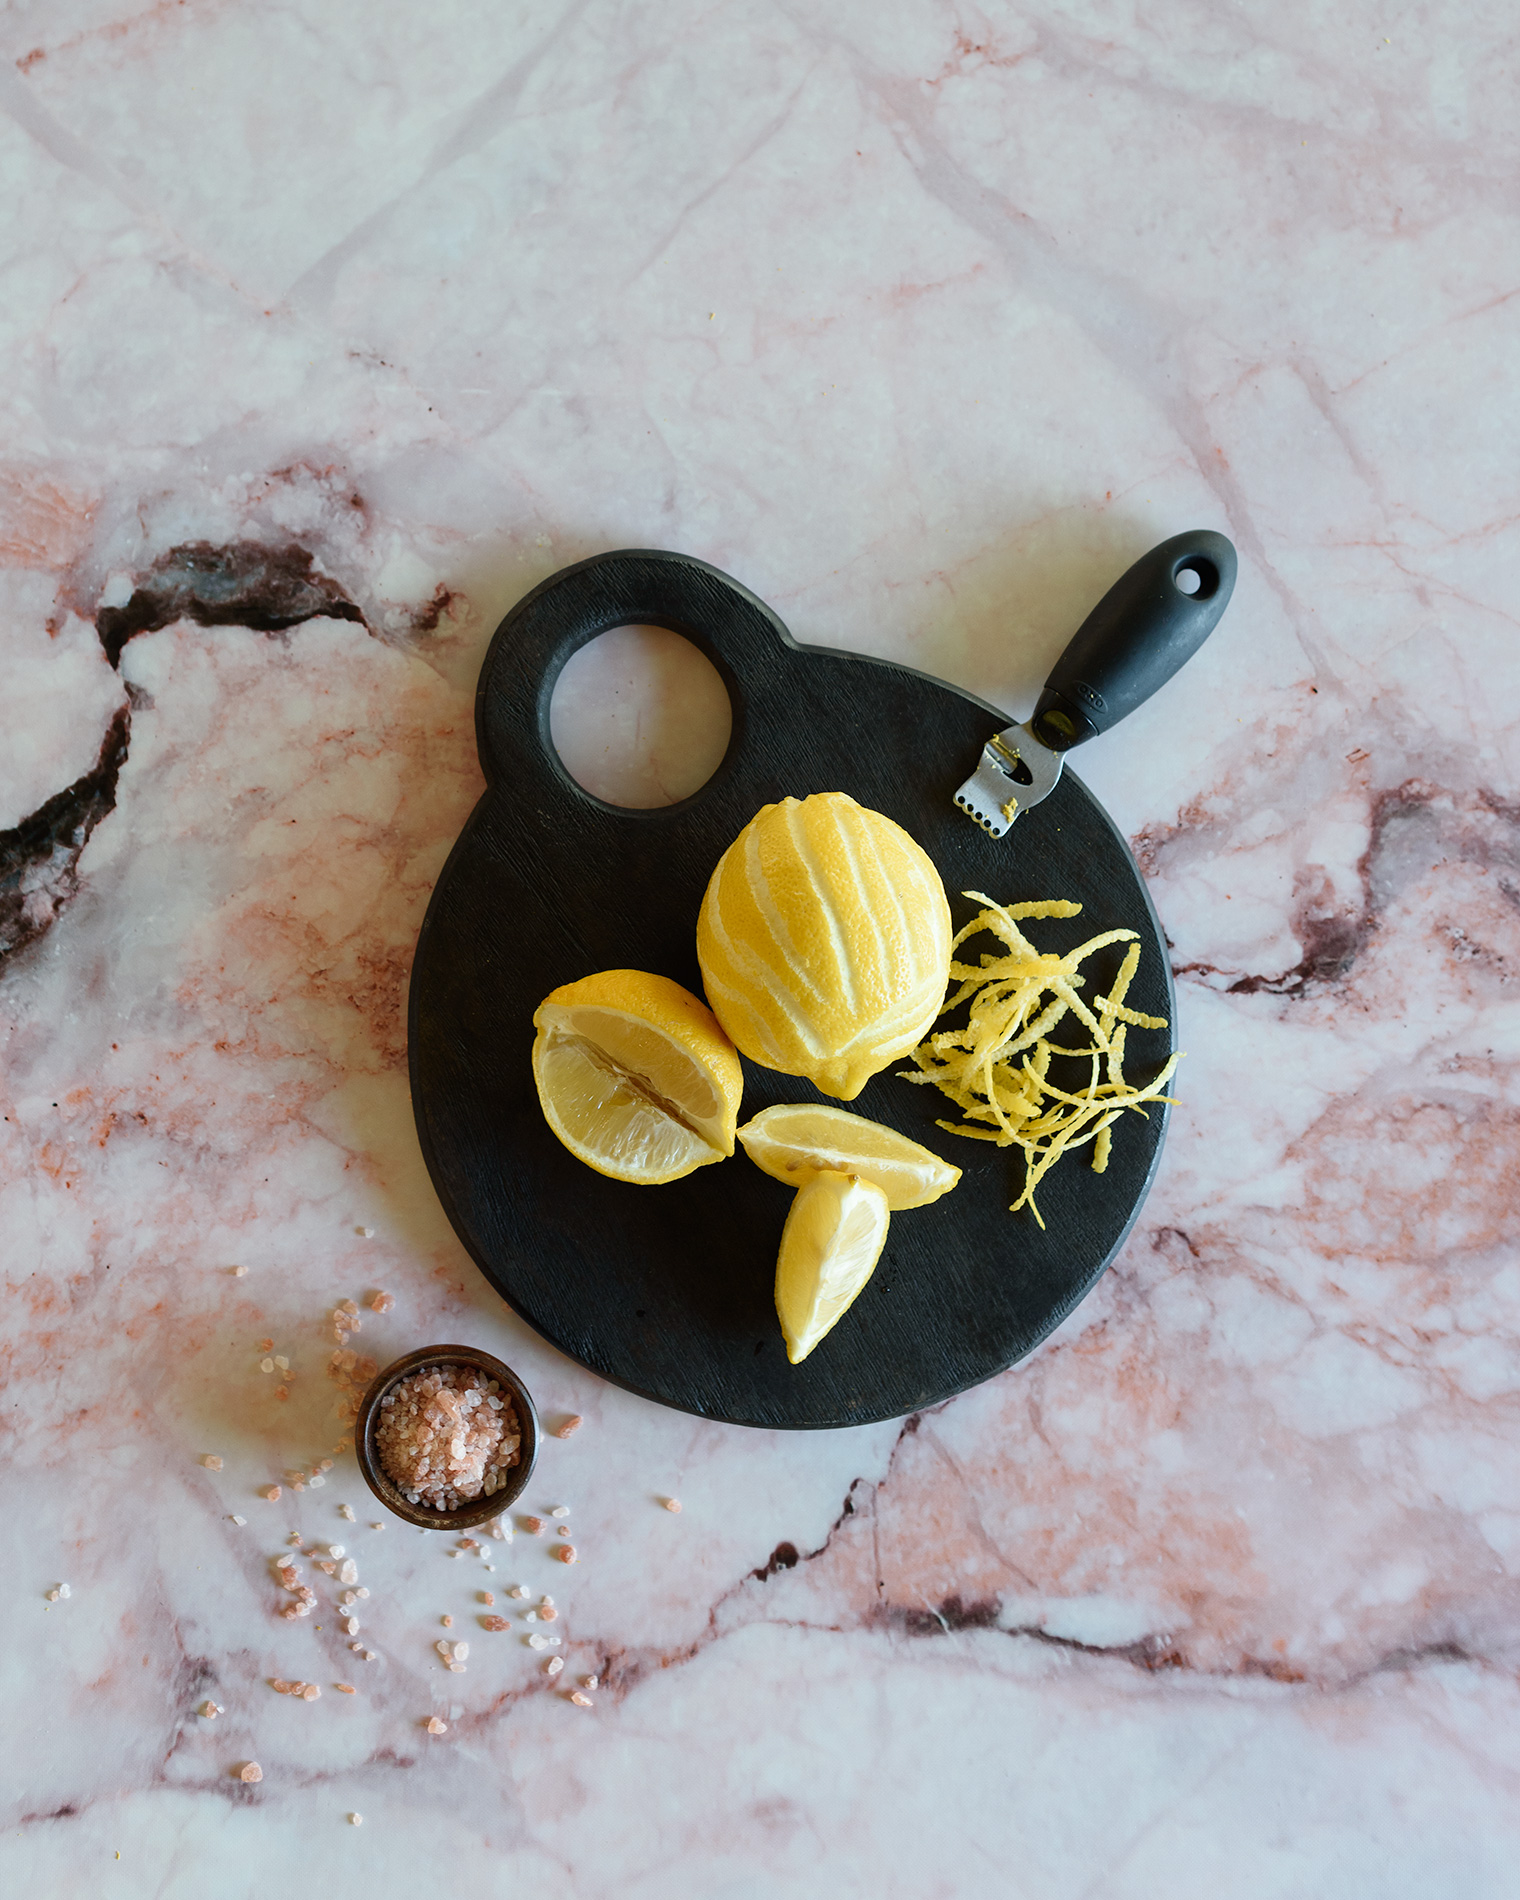
Thanks for these tips Barb. I’m just beginning to try flatlays and it’s honestly a bit overwhelming. I’m curious if you personally weathered the cutting boards.
On another note, I so enjoy your posts on Instagram and reading your blog. They always leave me with for a better word anchored and relaxed. Thank you for that
I’m so happy you found this useful, Carolyn, and for your very kind words. When I read that something I share is enjoyed, it encourages me so much! Thank you! and no, I didn’t weather the boards : )