
Using Whitewashed as a Tabletop
Using “Whitewashed” as a tabletop is super easy but I learned a few tricks as I was working with it and wanted to share them with you.
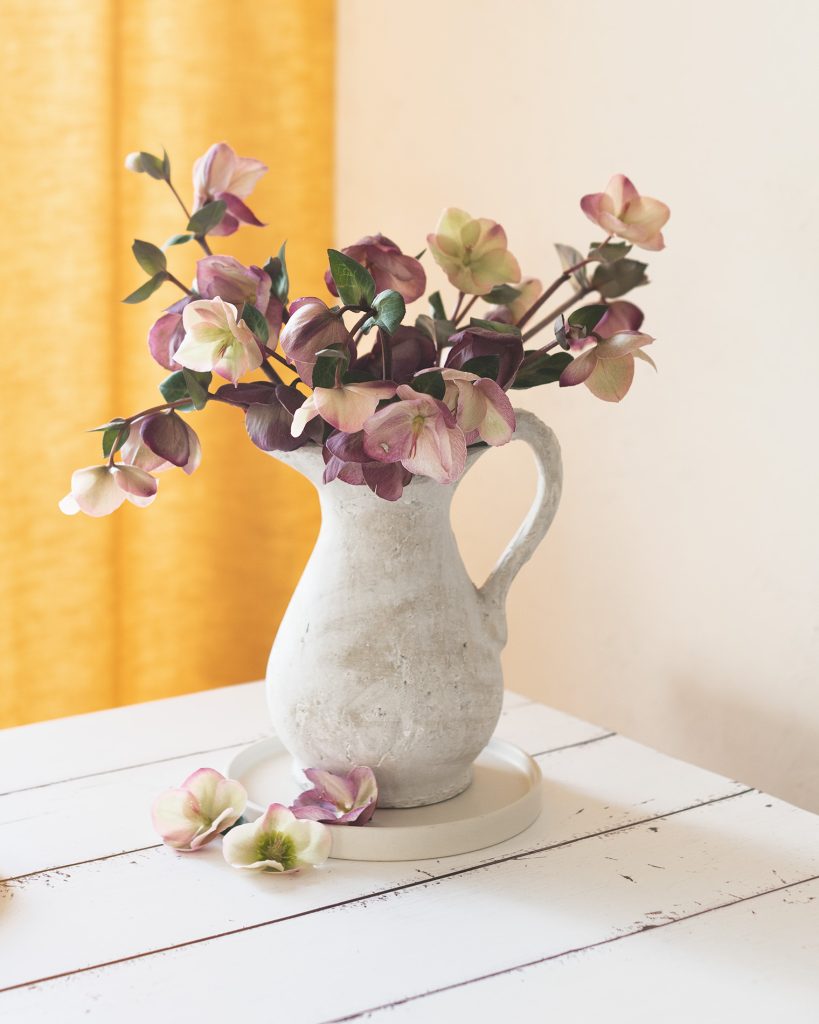
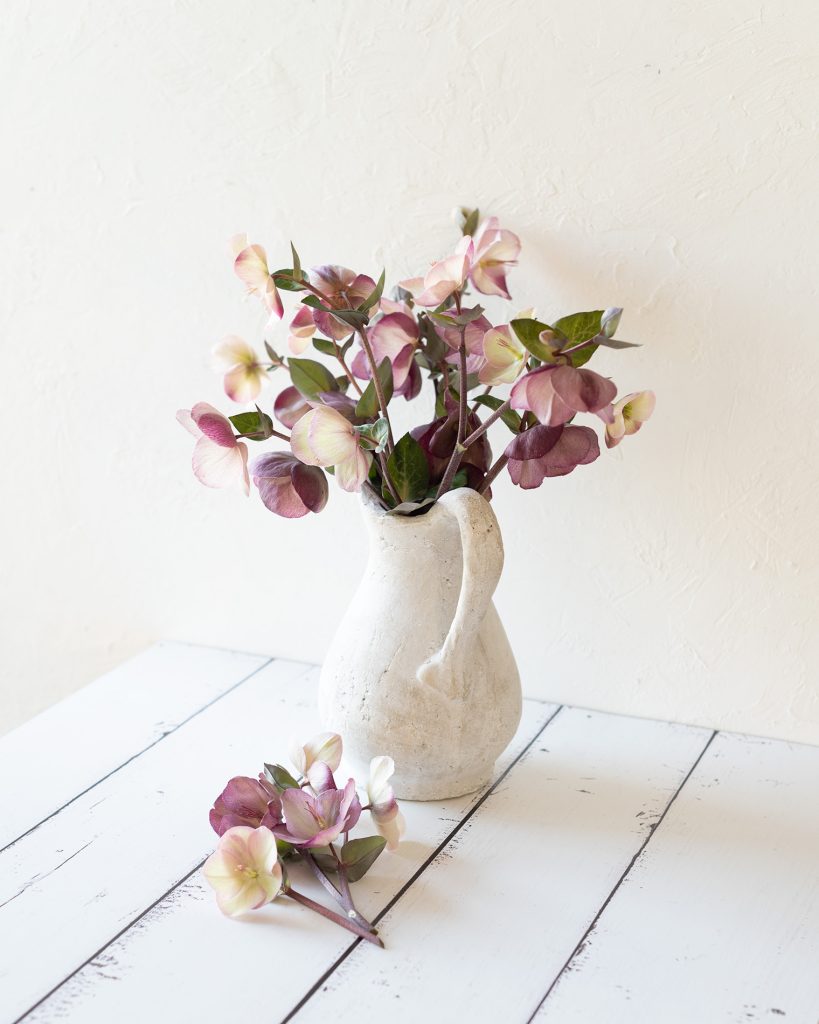
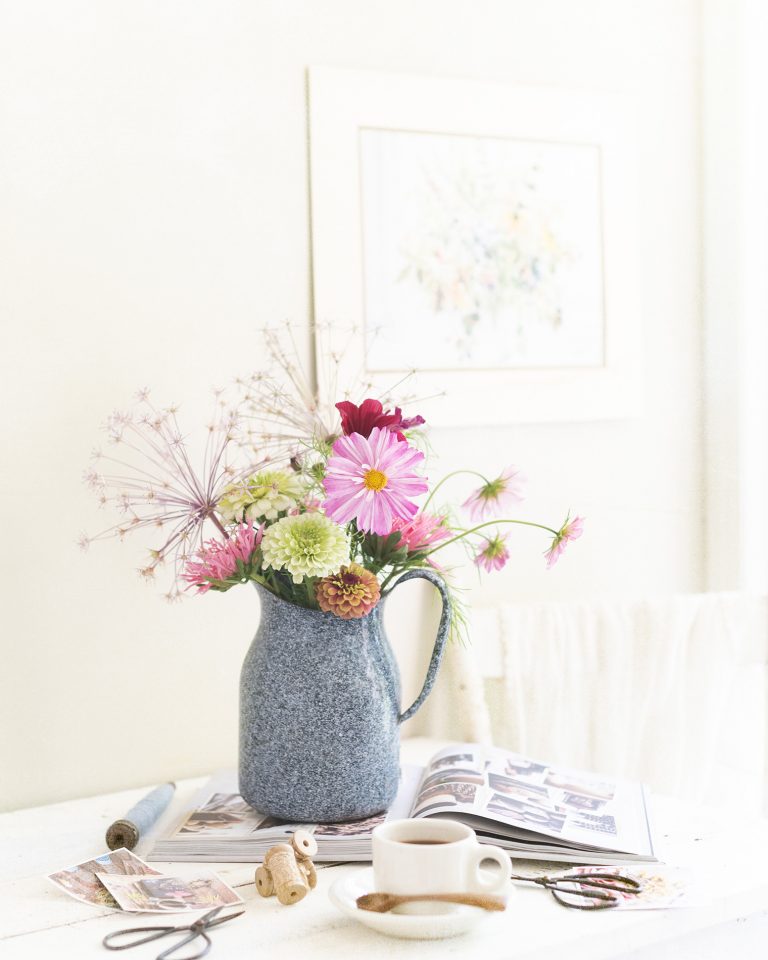
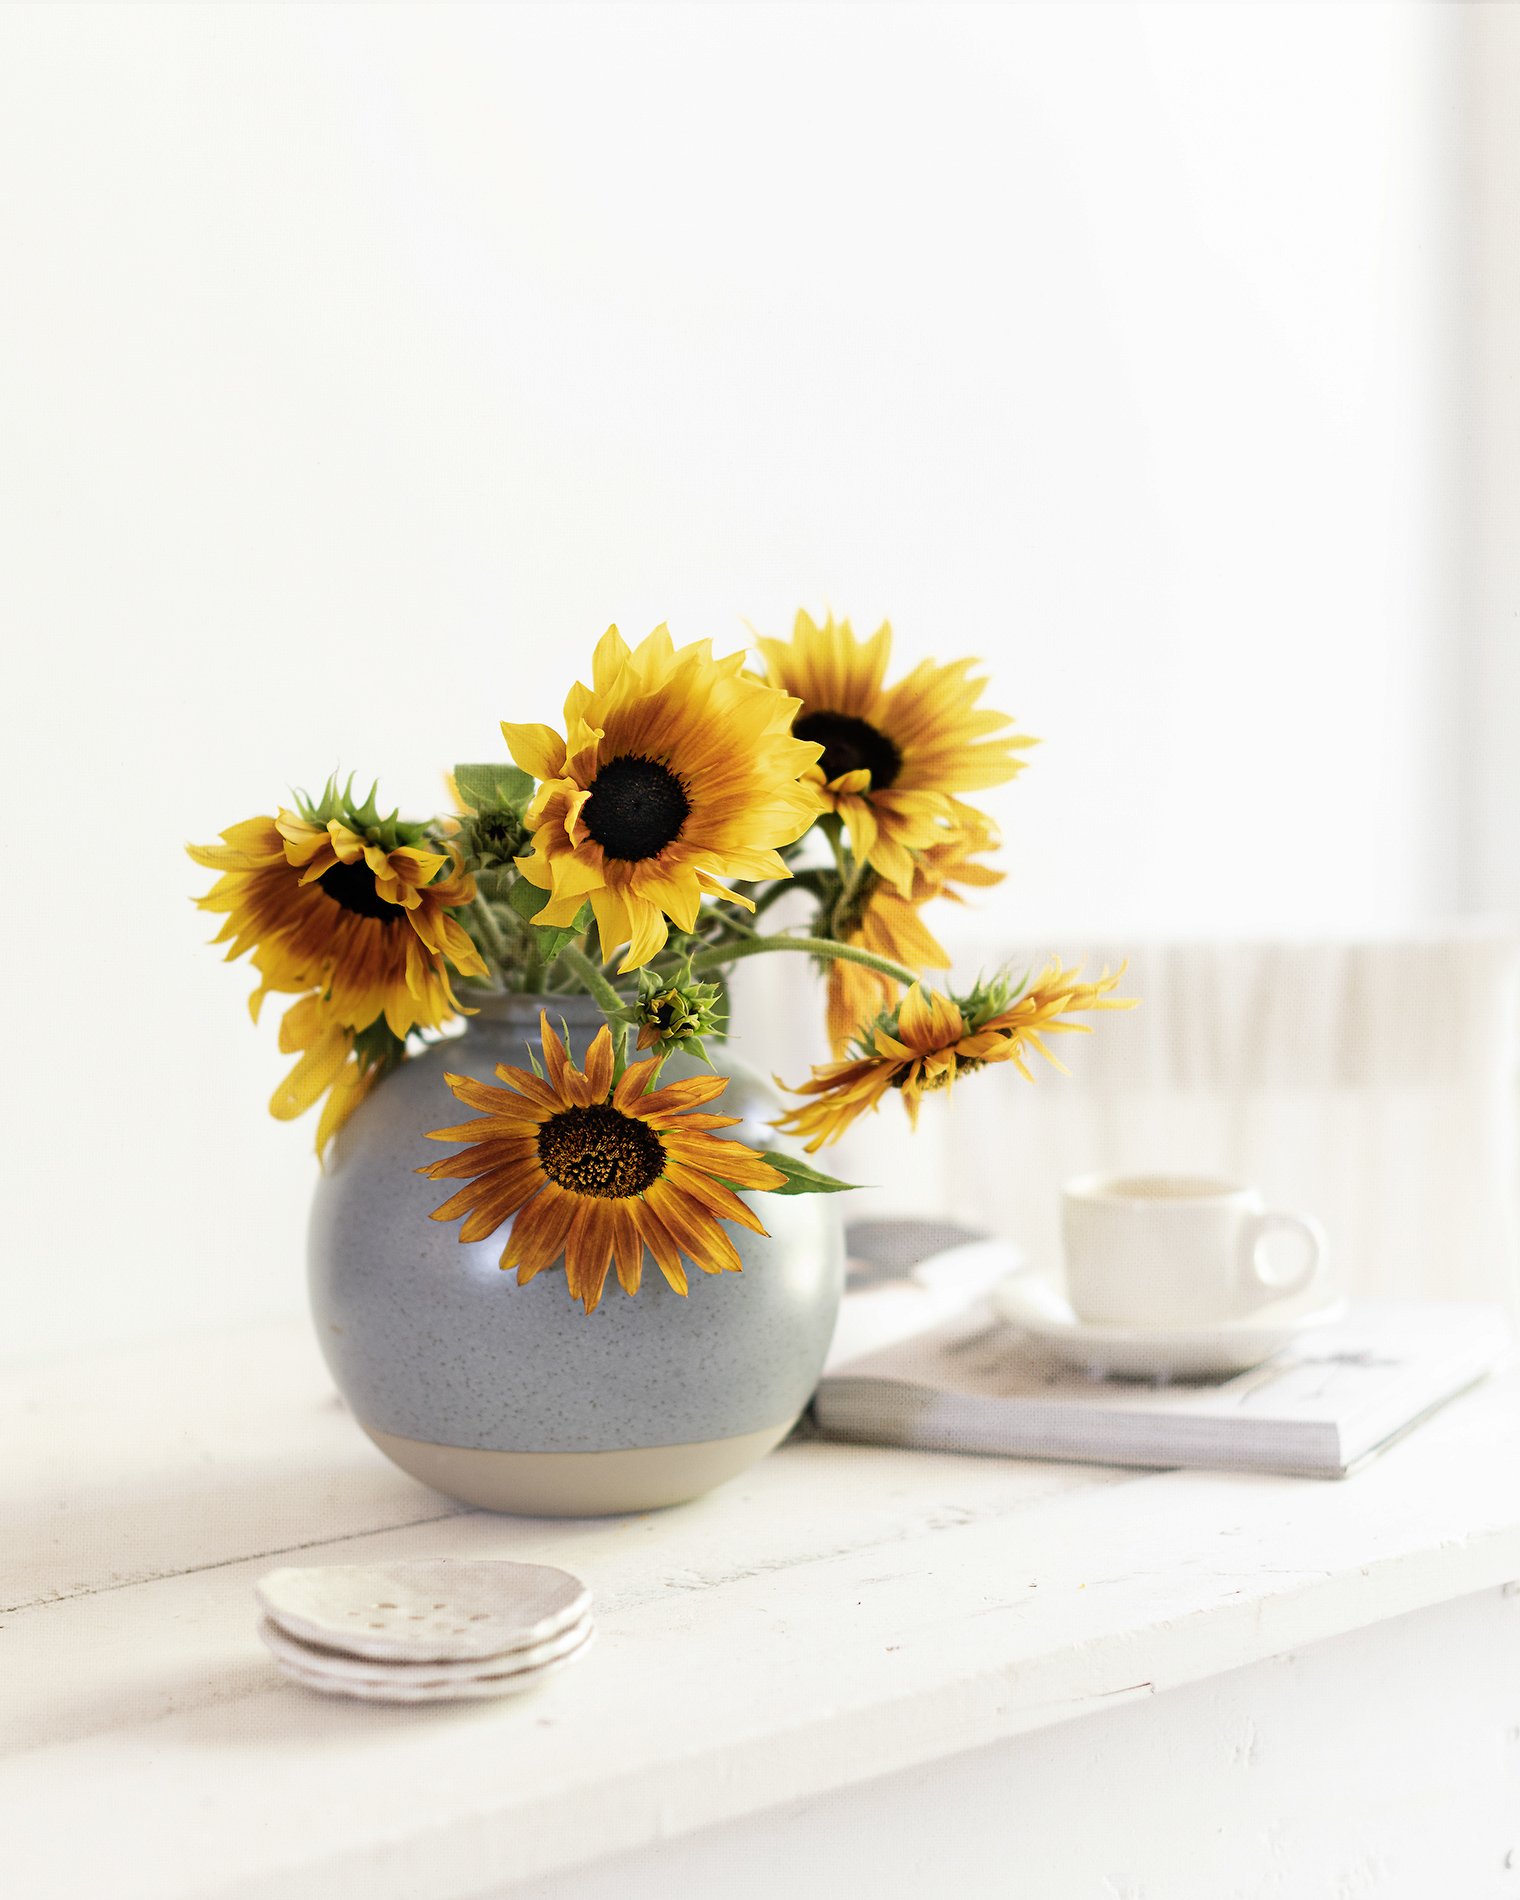
The first image is my final image and while I’m happy with the results, I wished I could have placed a chair at the end of the table but all I had were dark wood chairs and I wanted a white one : )
Placing a chair at the end of the table would add a subtle but important element of depth and storytelling. If you want to see the real Whitewashed Tabletop in action with a chair, check out the posts at the bottom of this page.
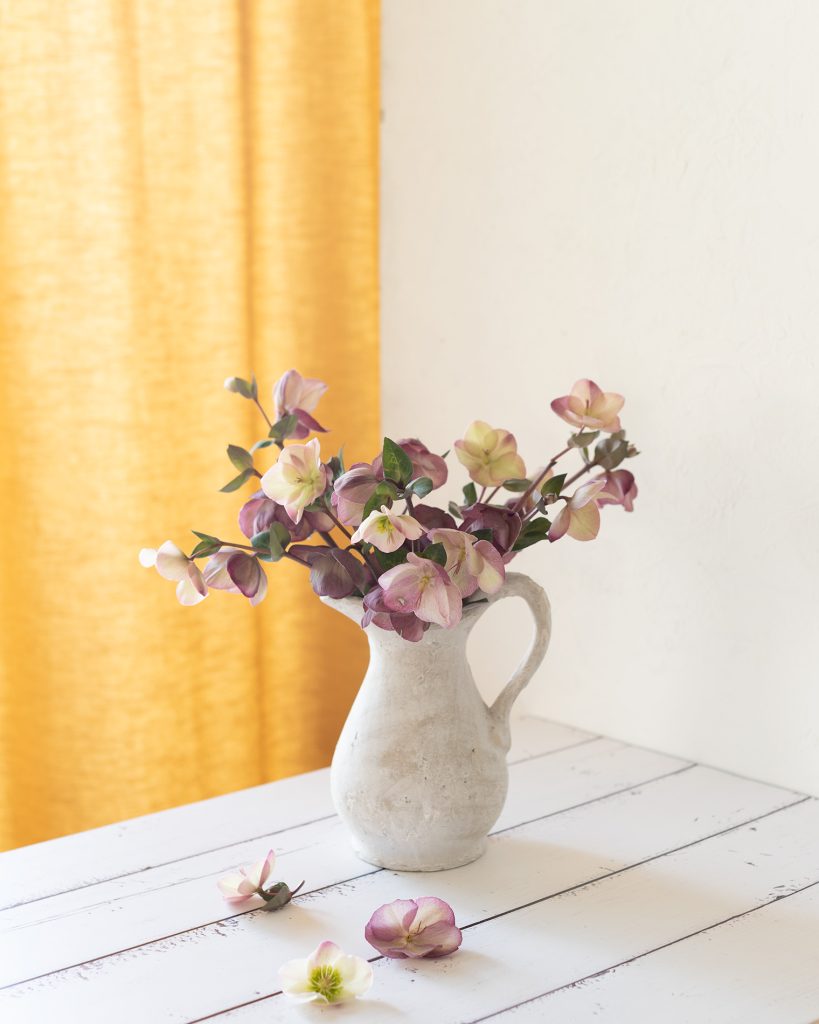
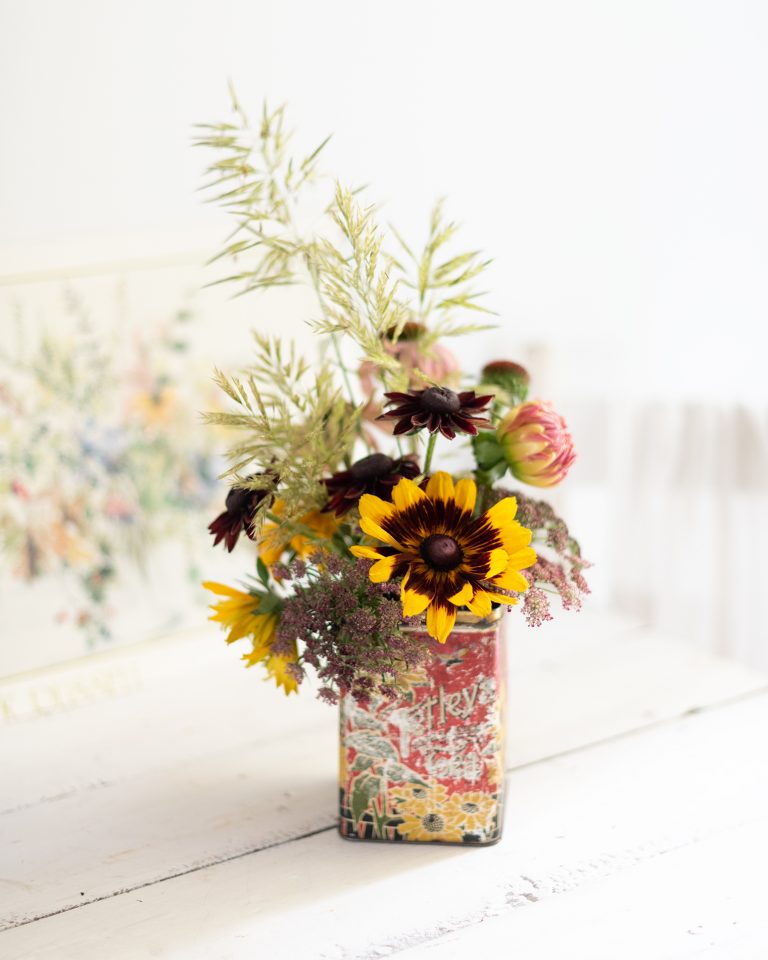
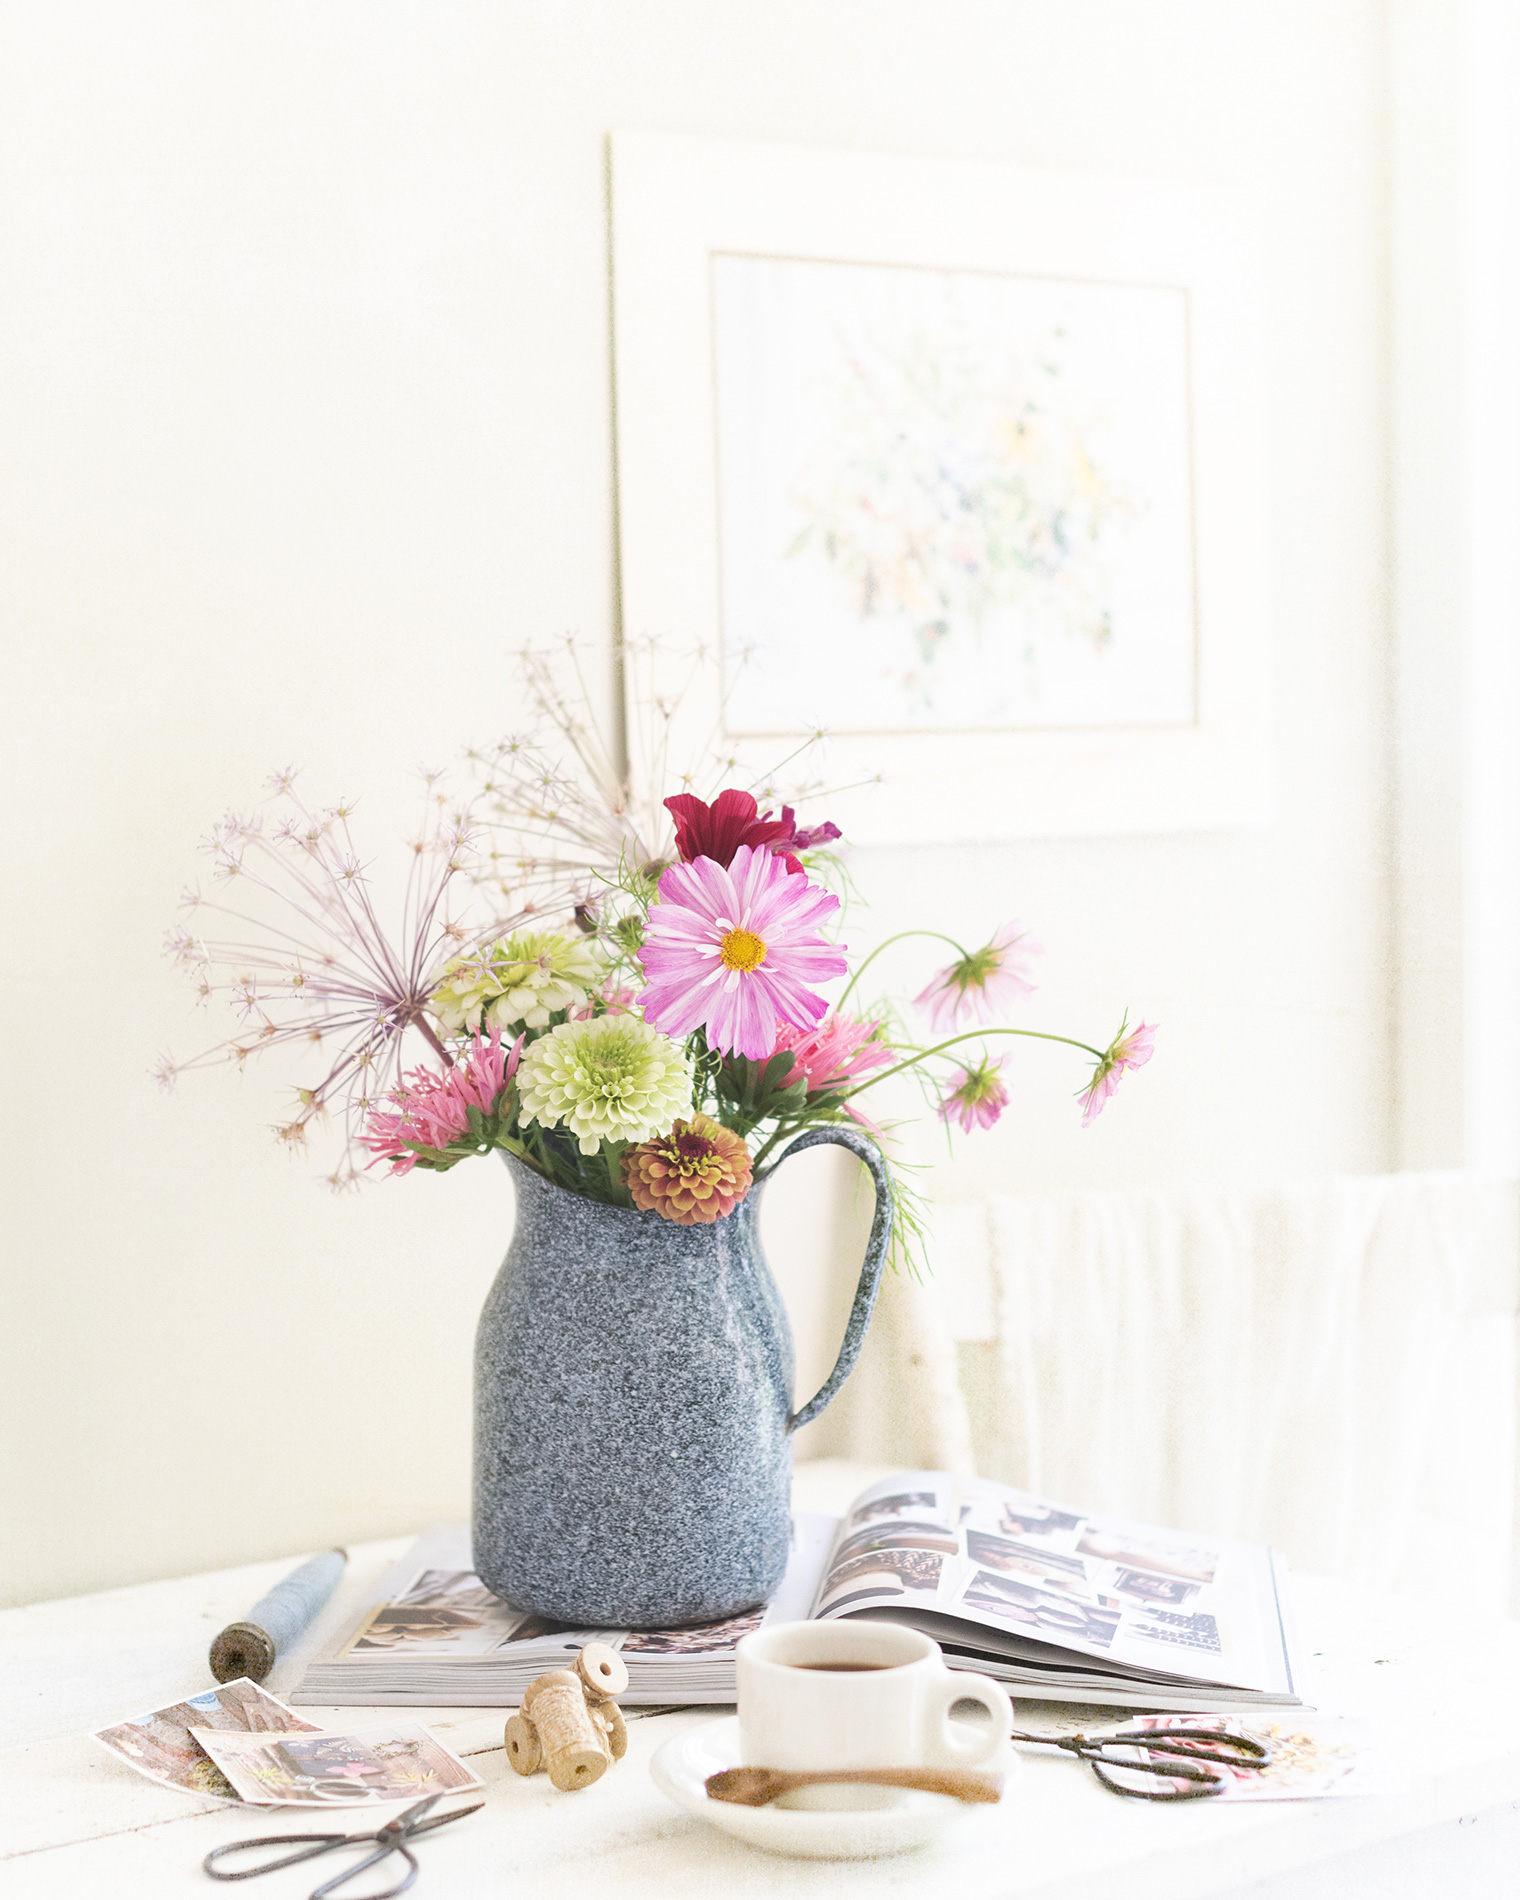
The following version is very similar, but did you notice the difference? Here I had the table set against the back wall and I felt it was lacking depth. As soon as I pulled it a few inches out from the wall (as in the previous image) the whole scene felt more realistic and interesting.
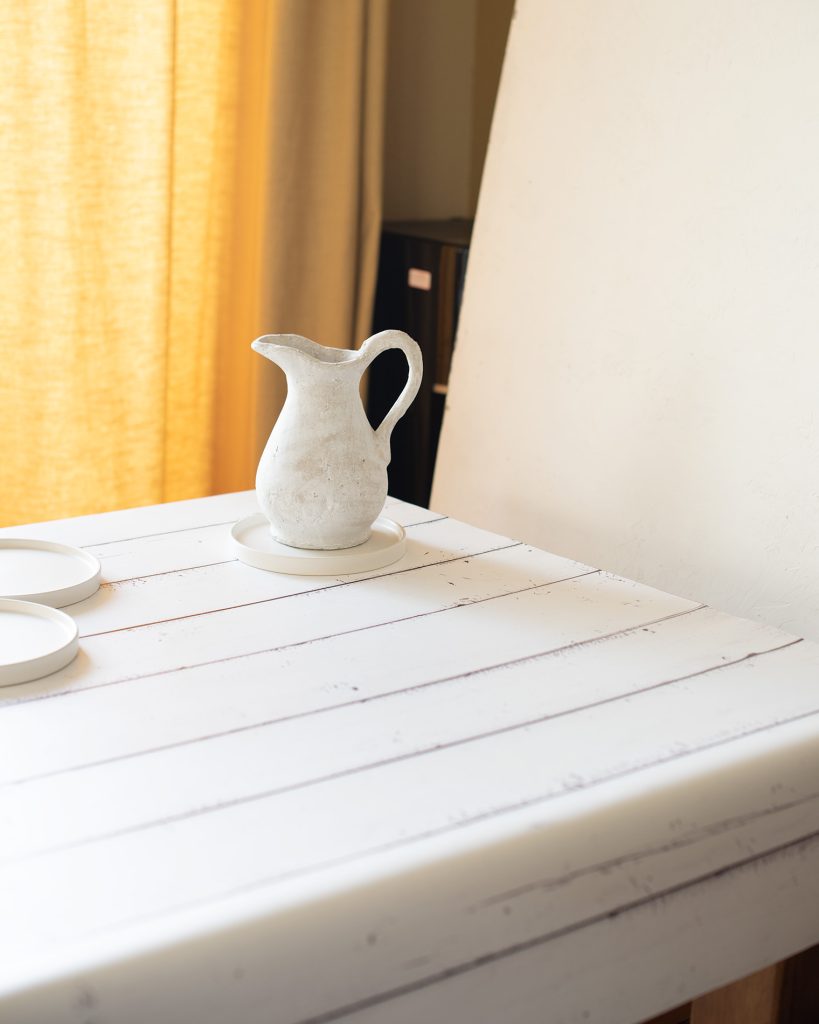
Here’s a bts of my setup with the vinyl background on the table with a large white painted backdrop to act as a back wall. I stood it upright when taking photos. I used two backdrops to give me more room to work with but it’s not necessary.
A Couple Shooting and Editing Tips
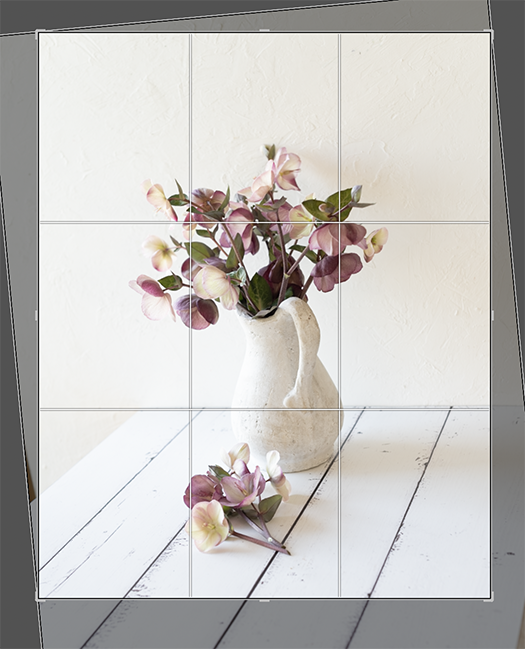
When taking the photo, make sure the vase is as upright as possible. However, if it’s not perfect don’t worry, you can tweak the image in your editing program by cropping and rotating to make vase upright.
This image needs to be cropped and the vase straightened. I should have made sure the vase was more upright when shooting as this is a bit extreme (but you get the idea : )
For tips on using the crop tool in Lightroom, check out my post “Crop Tool Tips Lightroom“.
Here I’ve used the crop tool to rotate and straighten the vase. The table looks a bit off, but this is just an example. Next time, I would make sure the vase was more upright when taking the picture.
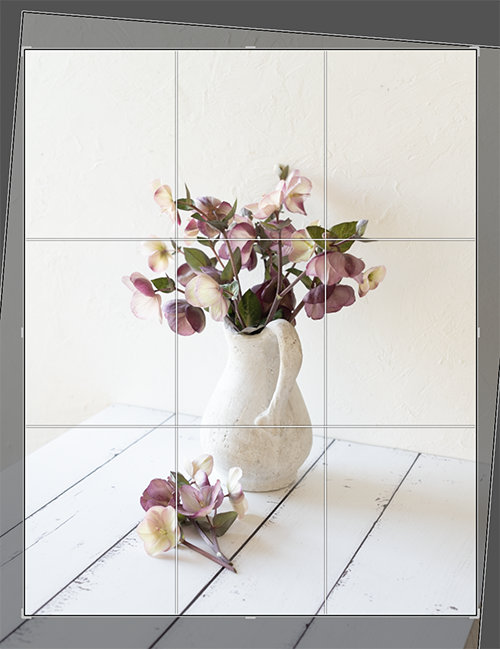
Cropped and straightened image.
TIPS
- When taking the photo, make sure the vase is as upright as possible, but if it’s not perfect don’t worry, you can tweak the image in your editing program by cropping and rotating to make it upright. The table will still look correct.
- Pull the table out from the wall at the back as well as the side.
- Set a chair at the end of the table to add interest and to add depth and “authenticity”.
- Although it’s not necessary, I used 2 backgrounds for extra “tabletop”.
See the Real Whitewashed Tabletop
Check these posts to see the real whitewashed tabletop in action! Placing the chair at the end of the table adds a subtle but important element of depth and storytelling.


Barb,
Love reading your tips they are extremely helpful. I have not thought of using the white as a table top lately. I am going to try it, need some did looks. ( actually think I might try a couple others ).
Thank You,
Ann xxx
Thank you so much, Ann .. I look forward to seeing what you do : )