Using the HSL Color Panel in Lightroom
I regularly use the HSL Color Panel to fine tune an image and today I want to share how I use it to reduce unwanted colours that may occur due to reflections or lighting issues when shooting.
The HSL Panel—Lightroom
With the HSL sliders, you can adjust the hue, saturation, and luminance of eight different colors in an image: red, orange, yellow, green, aqua, blue, purple, and magenta.
- Hue (color)
- Saturation (color intensity)
- Luminance (color brightness and contrast)
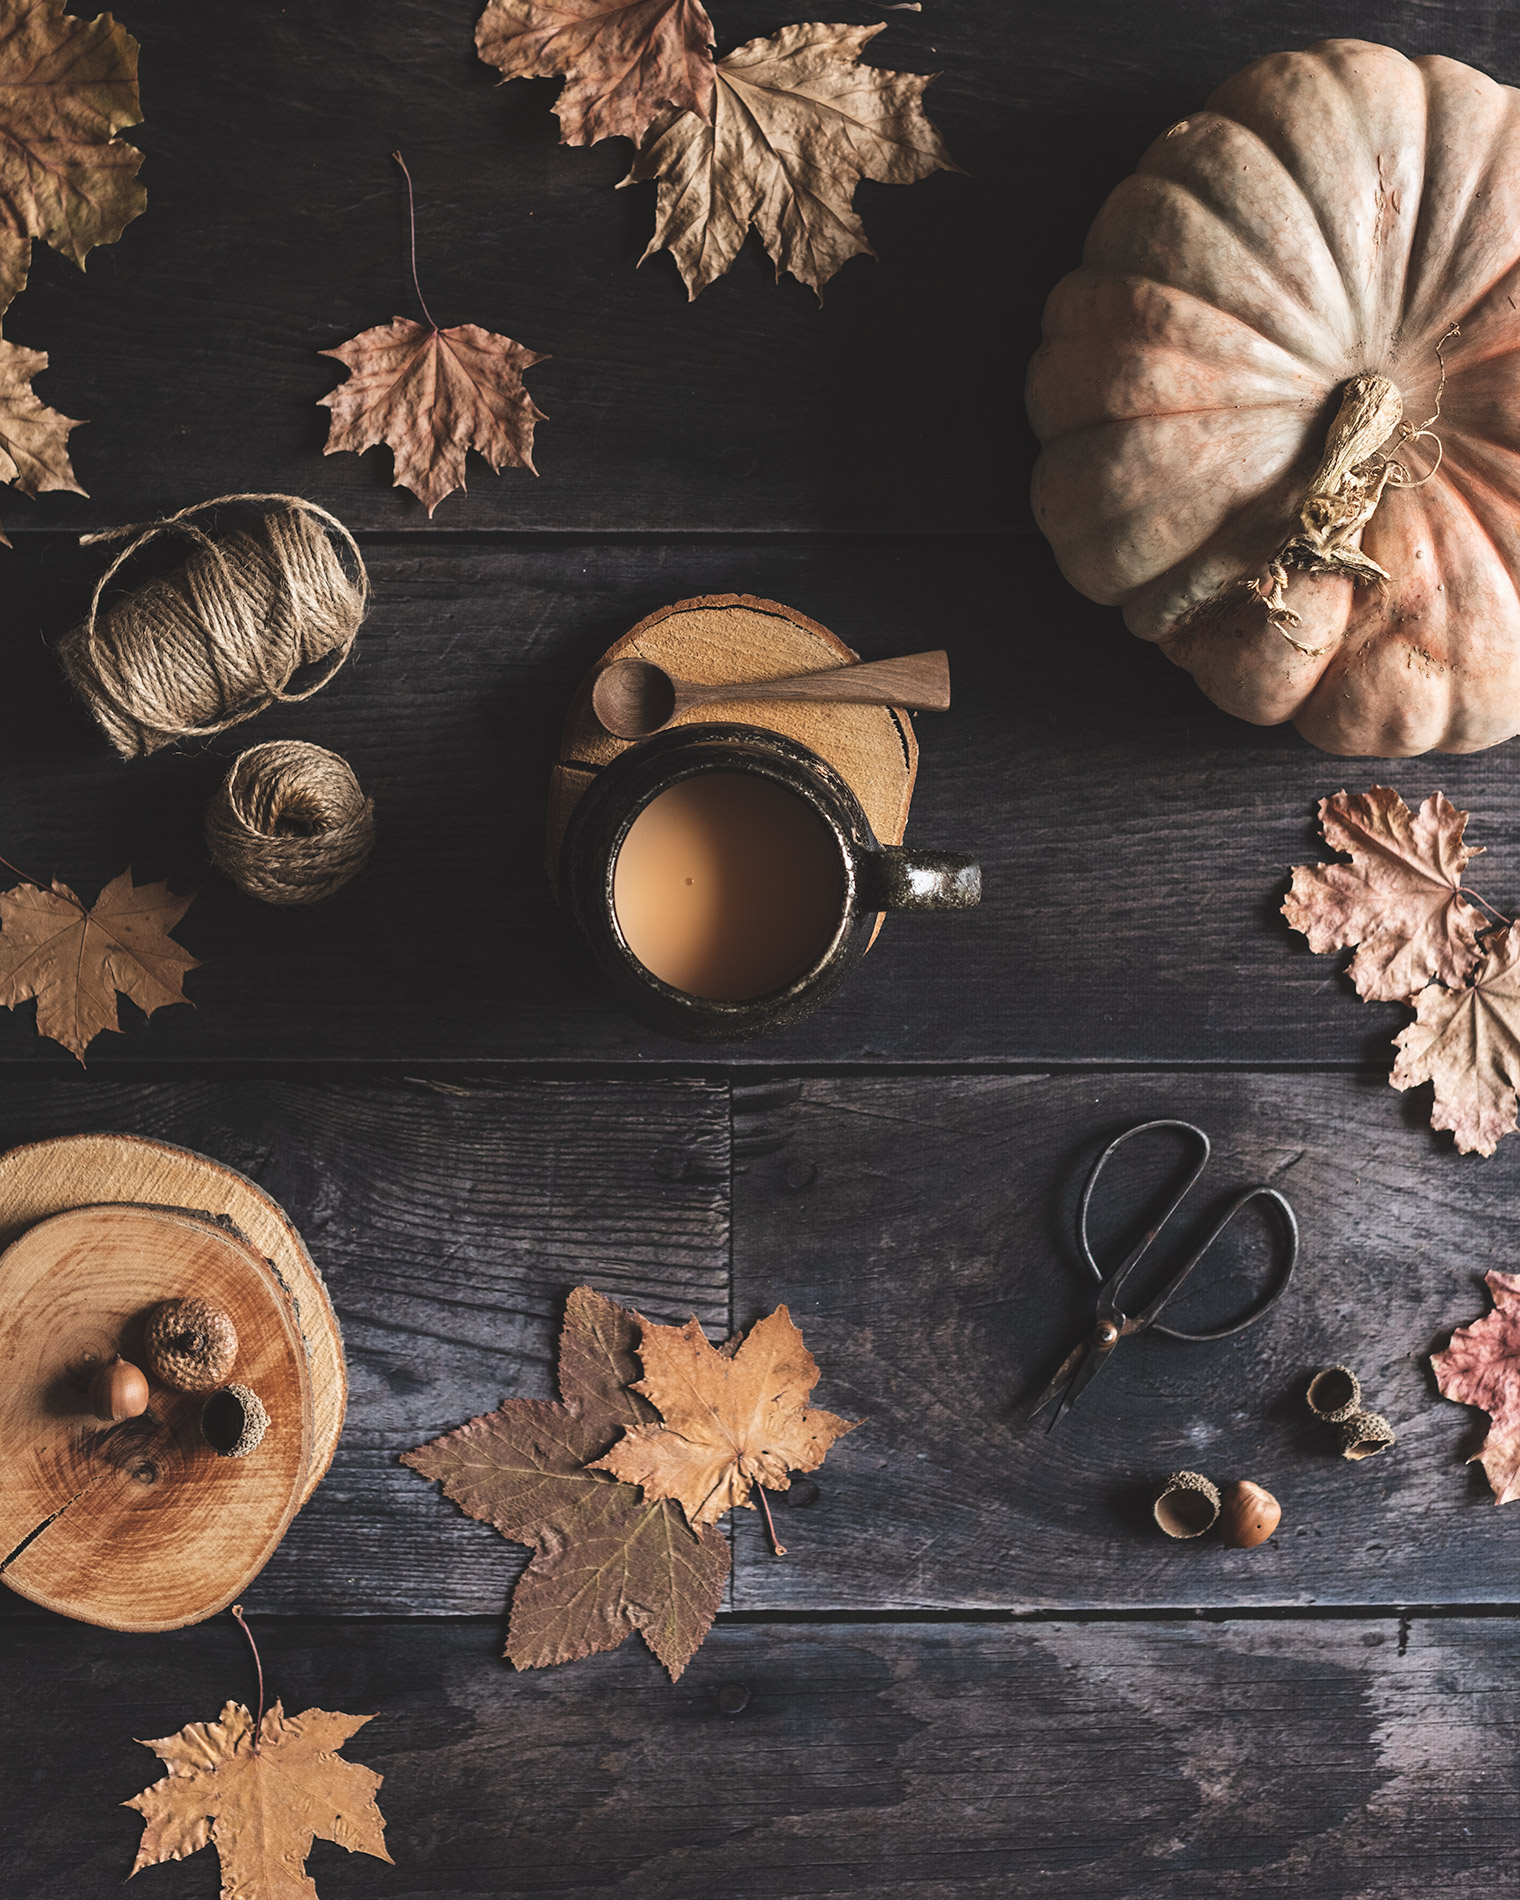
The image I’m working on is my Strawberries on Cracked Pepper, but first, a little explanation about “Cracked Pepper”.
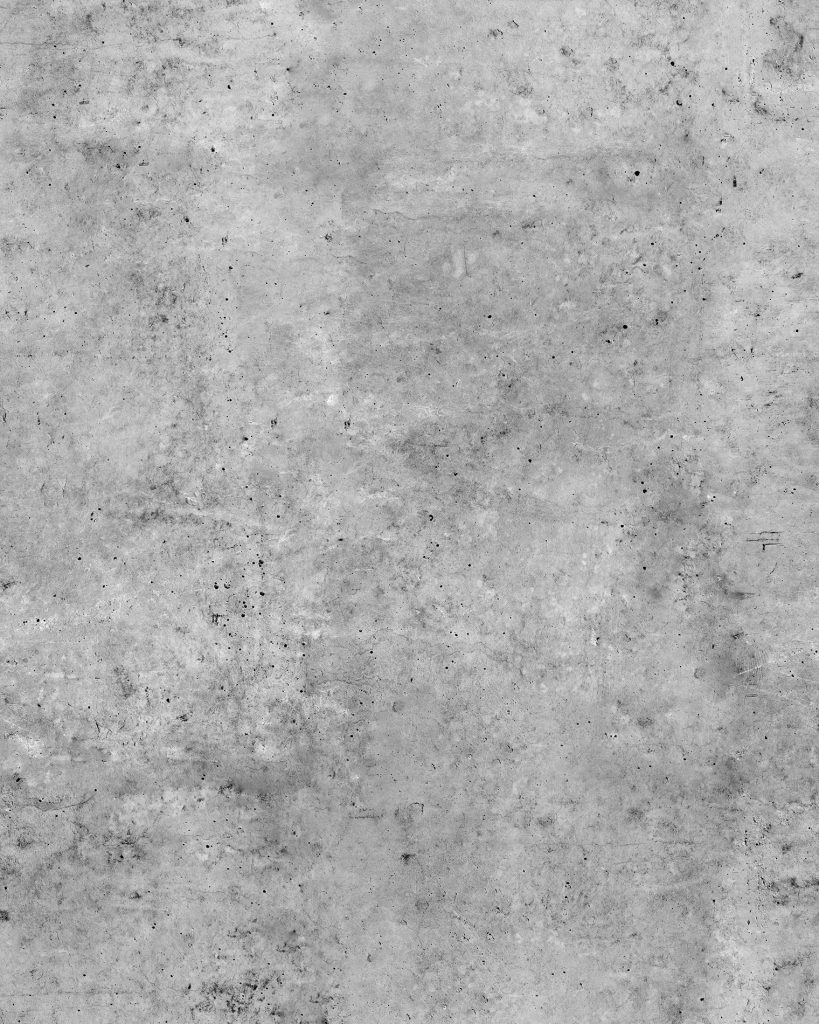
The original background file is devoid of colour. It’s composed of grey, white, and black. But as is often the case when shooting flat lays, a background can pick up colours from food or even just ambient light and it may not be what you want. This happens with real concrete and wood backgrounds as well—it’s not the vinyl.
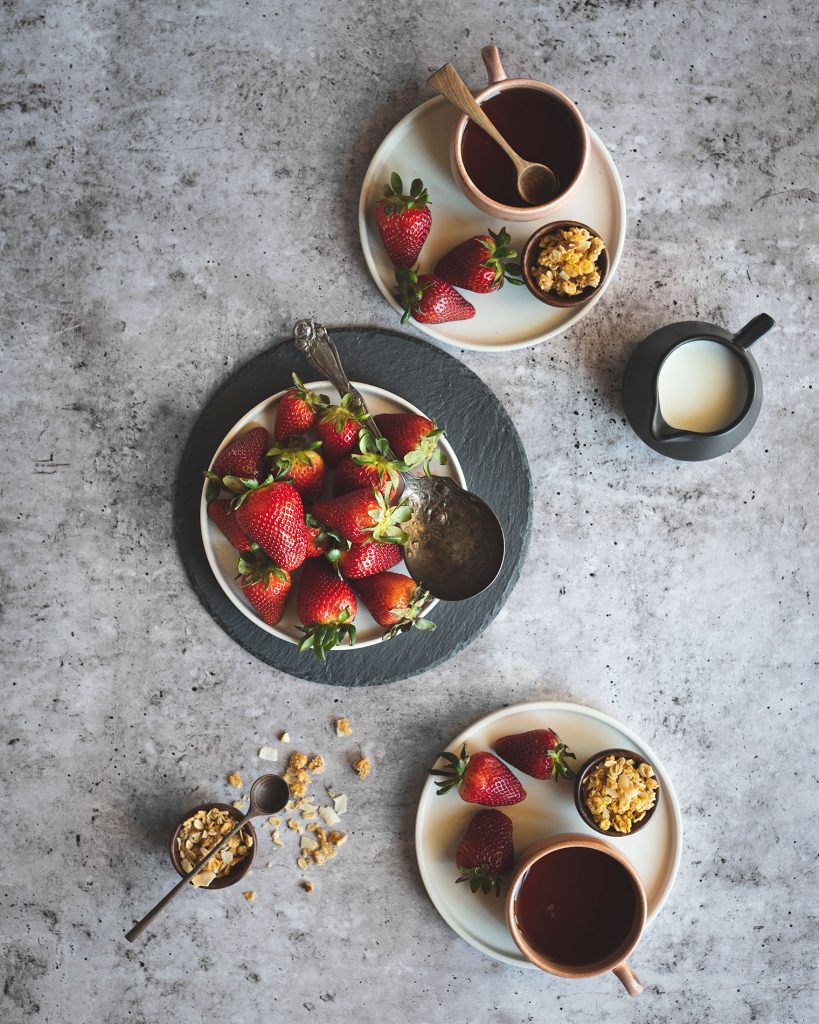
The following flay lay was shot by an east-facing window. In the original image, there were magenta tones in the background especially in areas close to the strawberries due to reflections.
After a few edits I was able to eliminate the magenta tones and end up with the image I was going for—bright red strawberries on a mostly neutral grey background. I’m not sharing the original as it’s very difficult to see the magenta tones.
If you’re having issues with any unwanted tones in a photo, I have a solution (simply remove them!)
Here are a few tips on using Lightroom to remove unwanted tones. I removed both the Purple tones as well as the Magenta tones. I didn’t remove the Red tones as I didn’t want to desaturate the strawberries.

Adjusting Tones in Lightroom
- In Lightroom, in the Develop Module, open the HSL/Color Panel on the right side of the screen
- Click on the desired circle to choose a color
- Drag the Saturation Slider all the way to the left (-100)
- Drag the Luminance Slider all the way to the left (-100) but evaluate the results: you may want to keep the Luminance at 100 or only adjust it slightly
Note: Be careful not to desaturate important elements in a photo, such as the strawberries. If you find by eliminating unwanted tones, you end up desaturating the subject of the image, use a radial gradient or a brush to bring it back.
Want to know more? Watch for an upcoming post on other ways to use the HSL/Color Panel.