
Start with a Focal Point
When composing an image, whether it’s a still life or flat lay, we usually start with a subject to use as a focal point.
When you think about it, what inspires you to take a photo? Most likely it’s that beautiful bouquet, or that bowl of gorgeous fruit. A focal point is the most visually interesting area of the composition and it will be the first thing a person looks at. Easy enough, but there are ways to shoot and edit an image to help draw the viewers’ eye right to it.
So thank you to Ann Davis for asking this question in my last post “Ask me a Question“.
When planning a flat lay what do you think the most important element is?
Ann Davis
So, my answer is, of course, a focal point, because without it we wouldn’t know where to look and we’d lose interest very quickly.
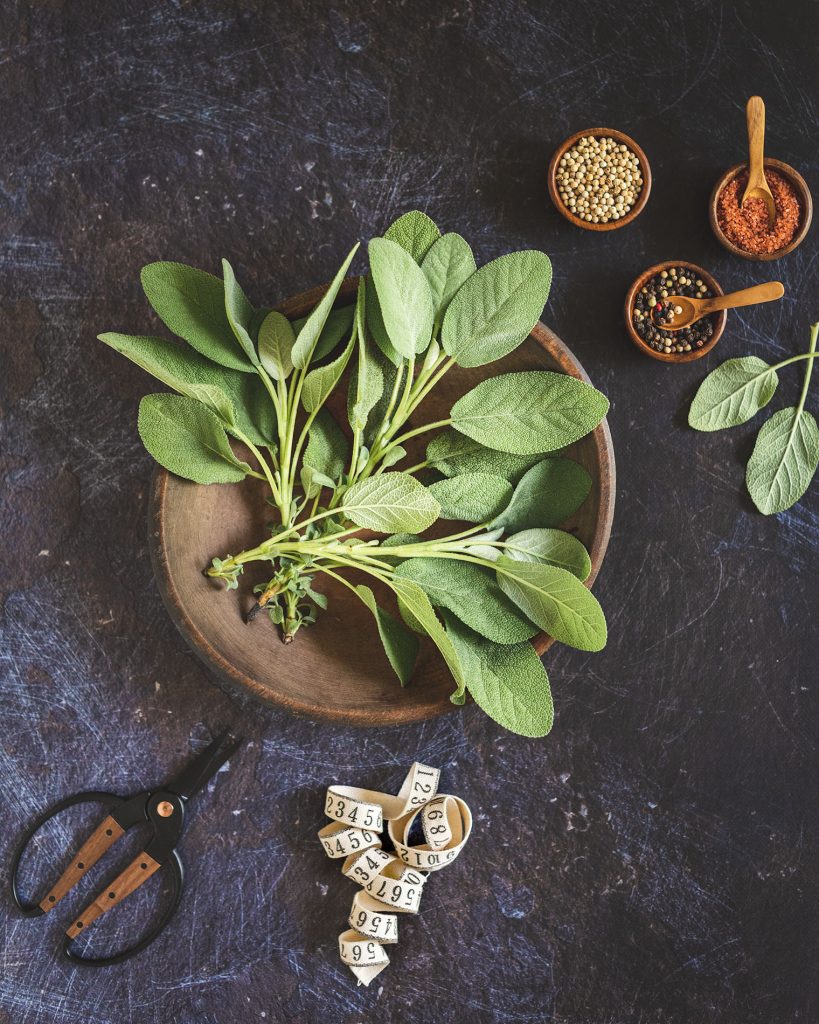
Sage on “Slate” is the perfect example of a focal point .. there’s absolutely no doubt what it is I want you to look at. Of course it’s the bowl of sage, but to make it stand out even more, I added a radial gradient to the sage and increased the exposure and texture. Another way to bring your viewers eye to the focal point is to add a vignette to darken the outer edges of the image which draws the eye inward.
The pinch bowls, garden shears, and ribbon are supporting elements.
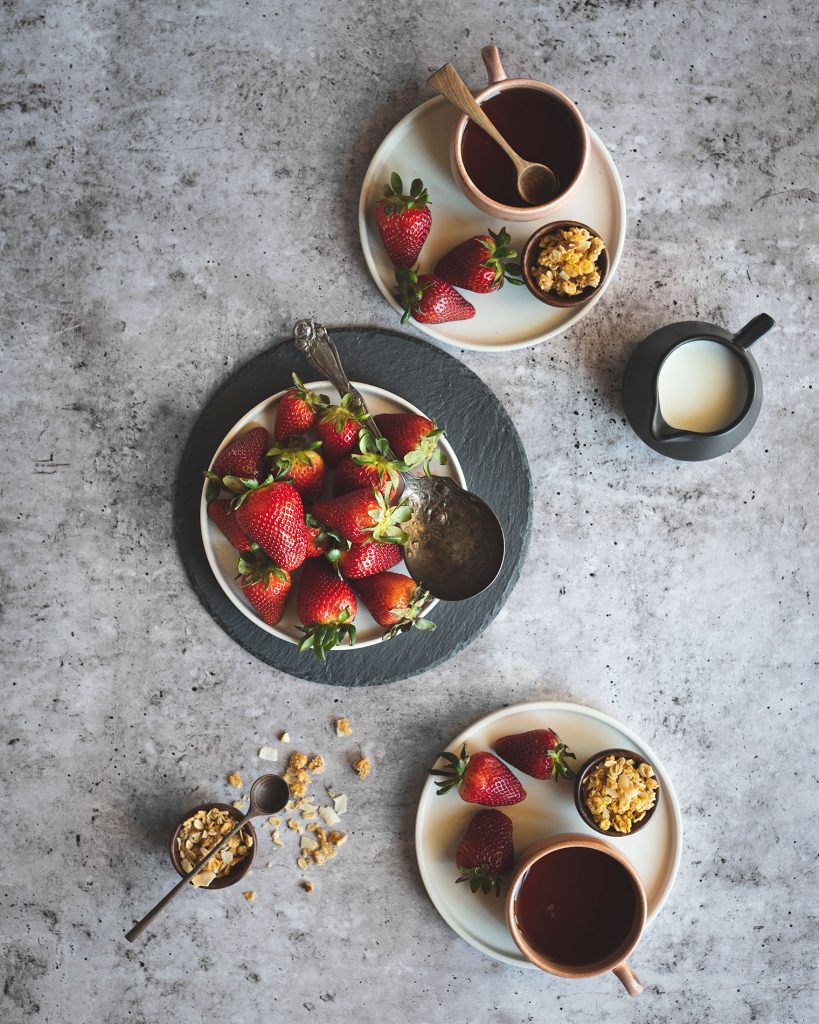
Strawberries on Cracked Pepper is a little busier but the big bowl of strawberries is the intended focal point. It’s position in the image draws the viewers eye right away, but to give it more weight I set it on a black plate and used a radial gradient to make the strawberries lighter.
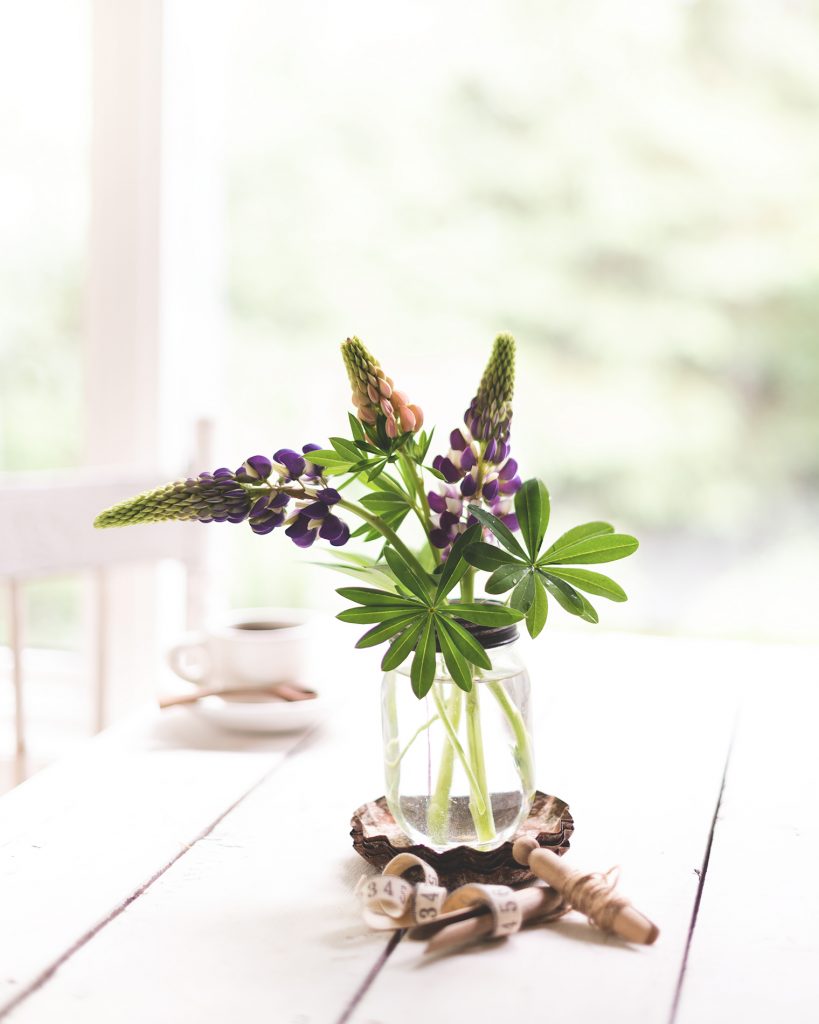
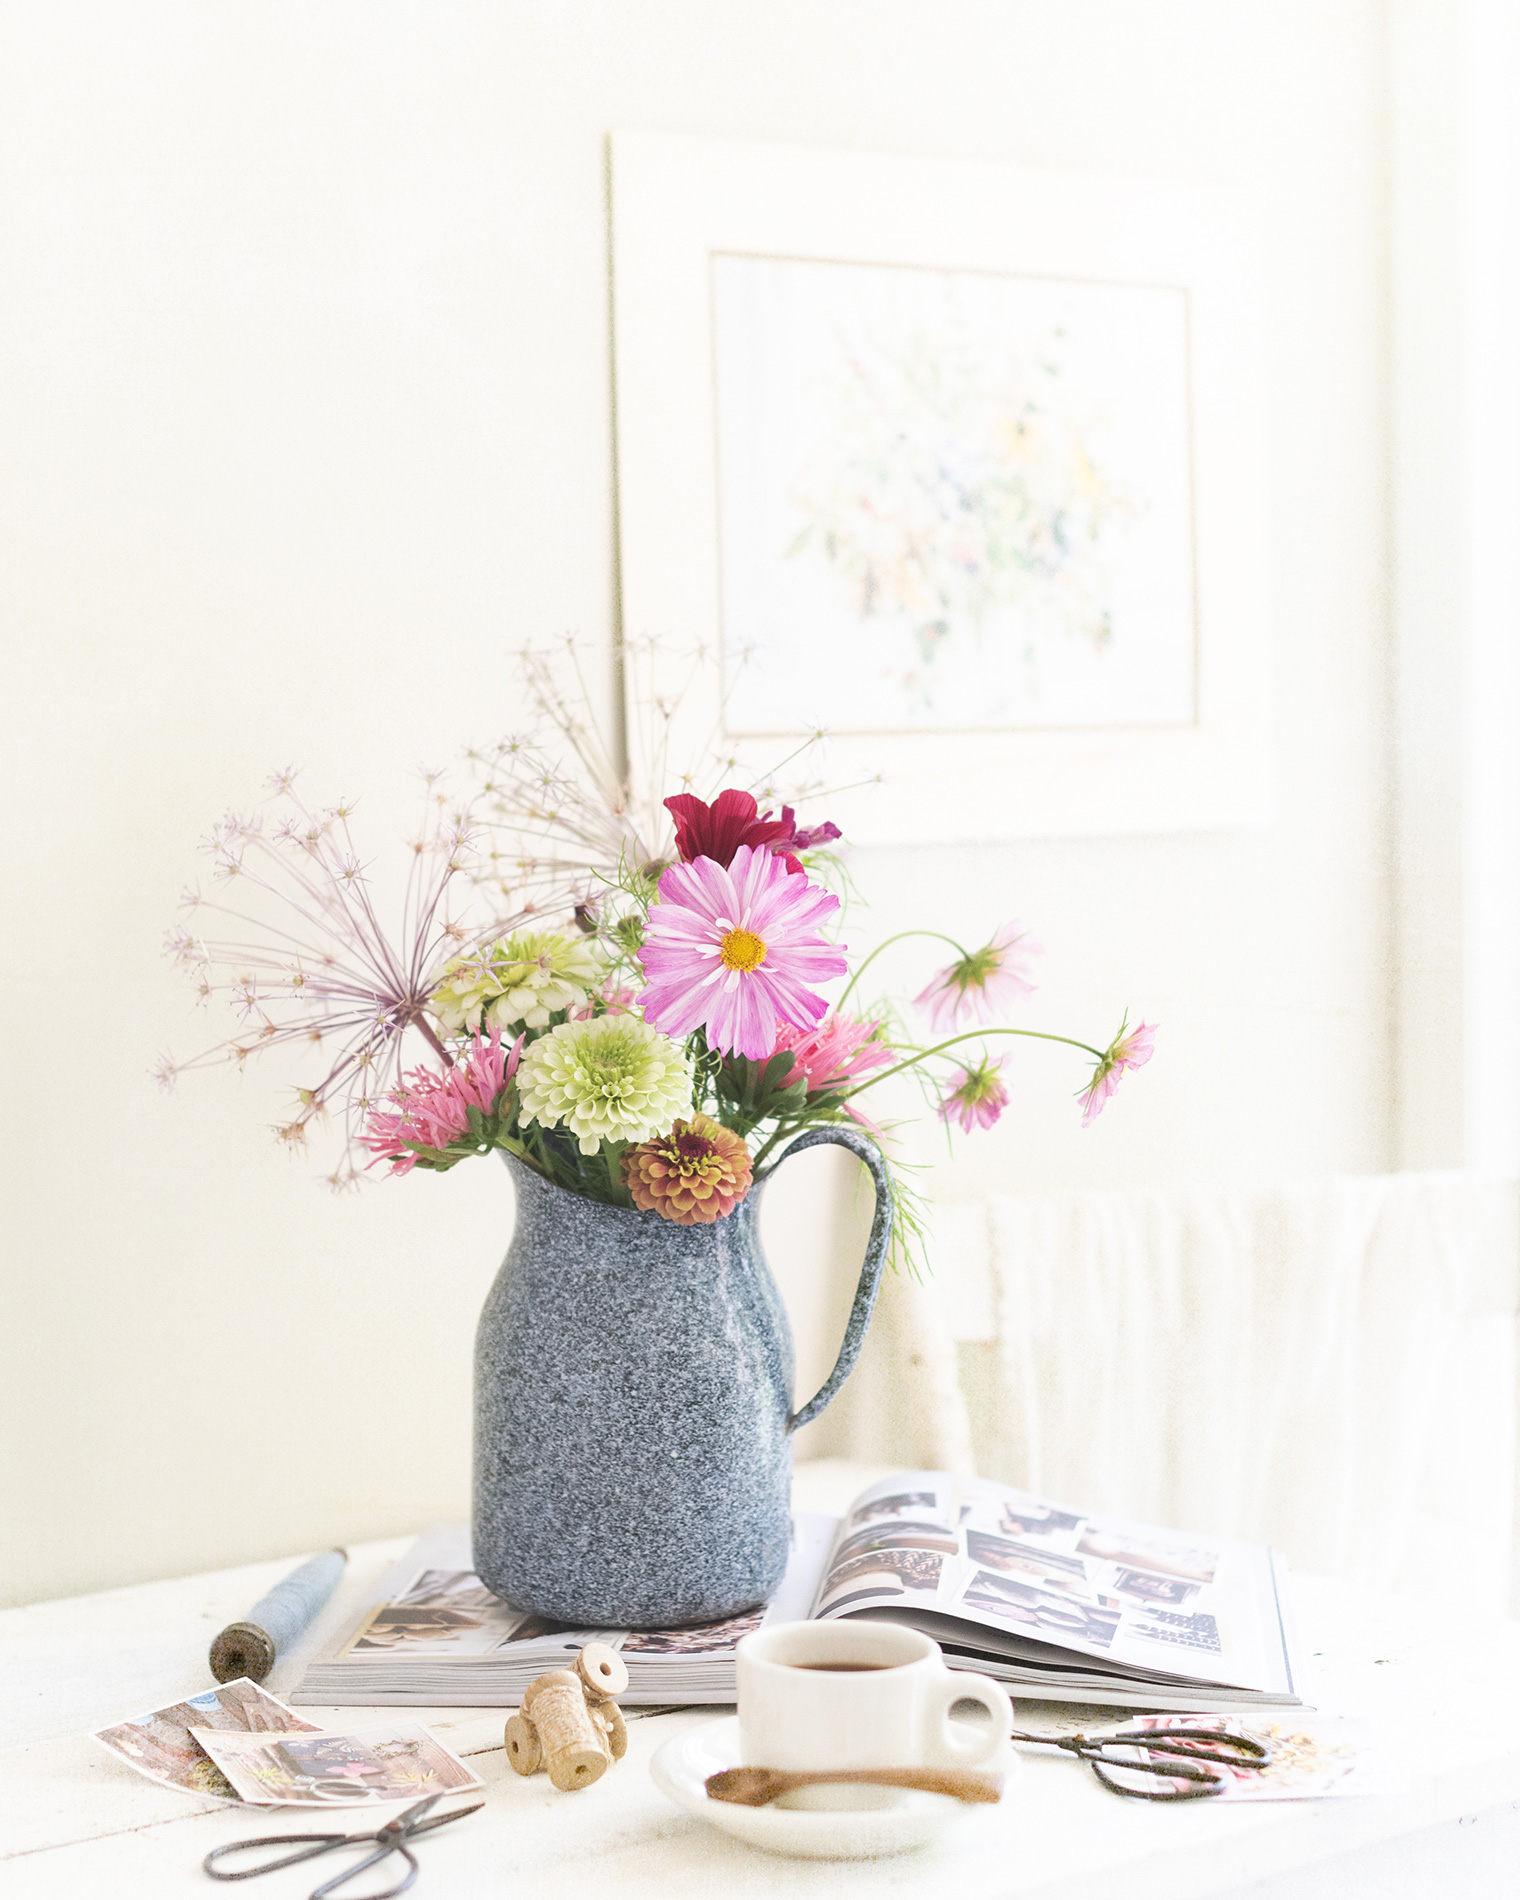
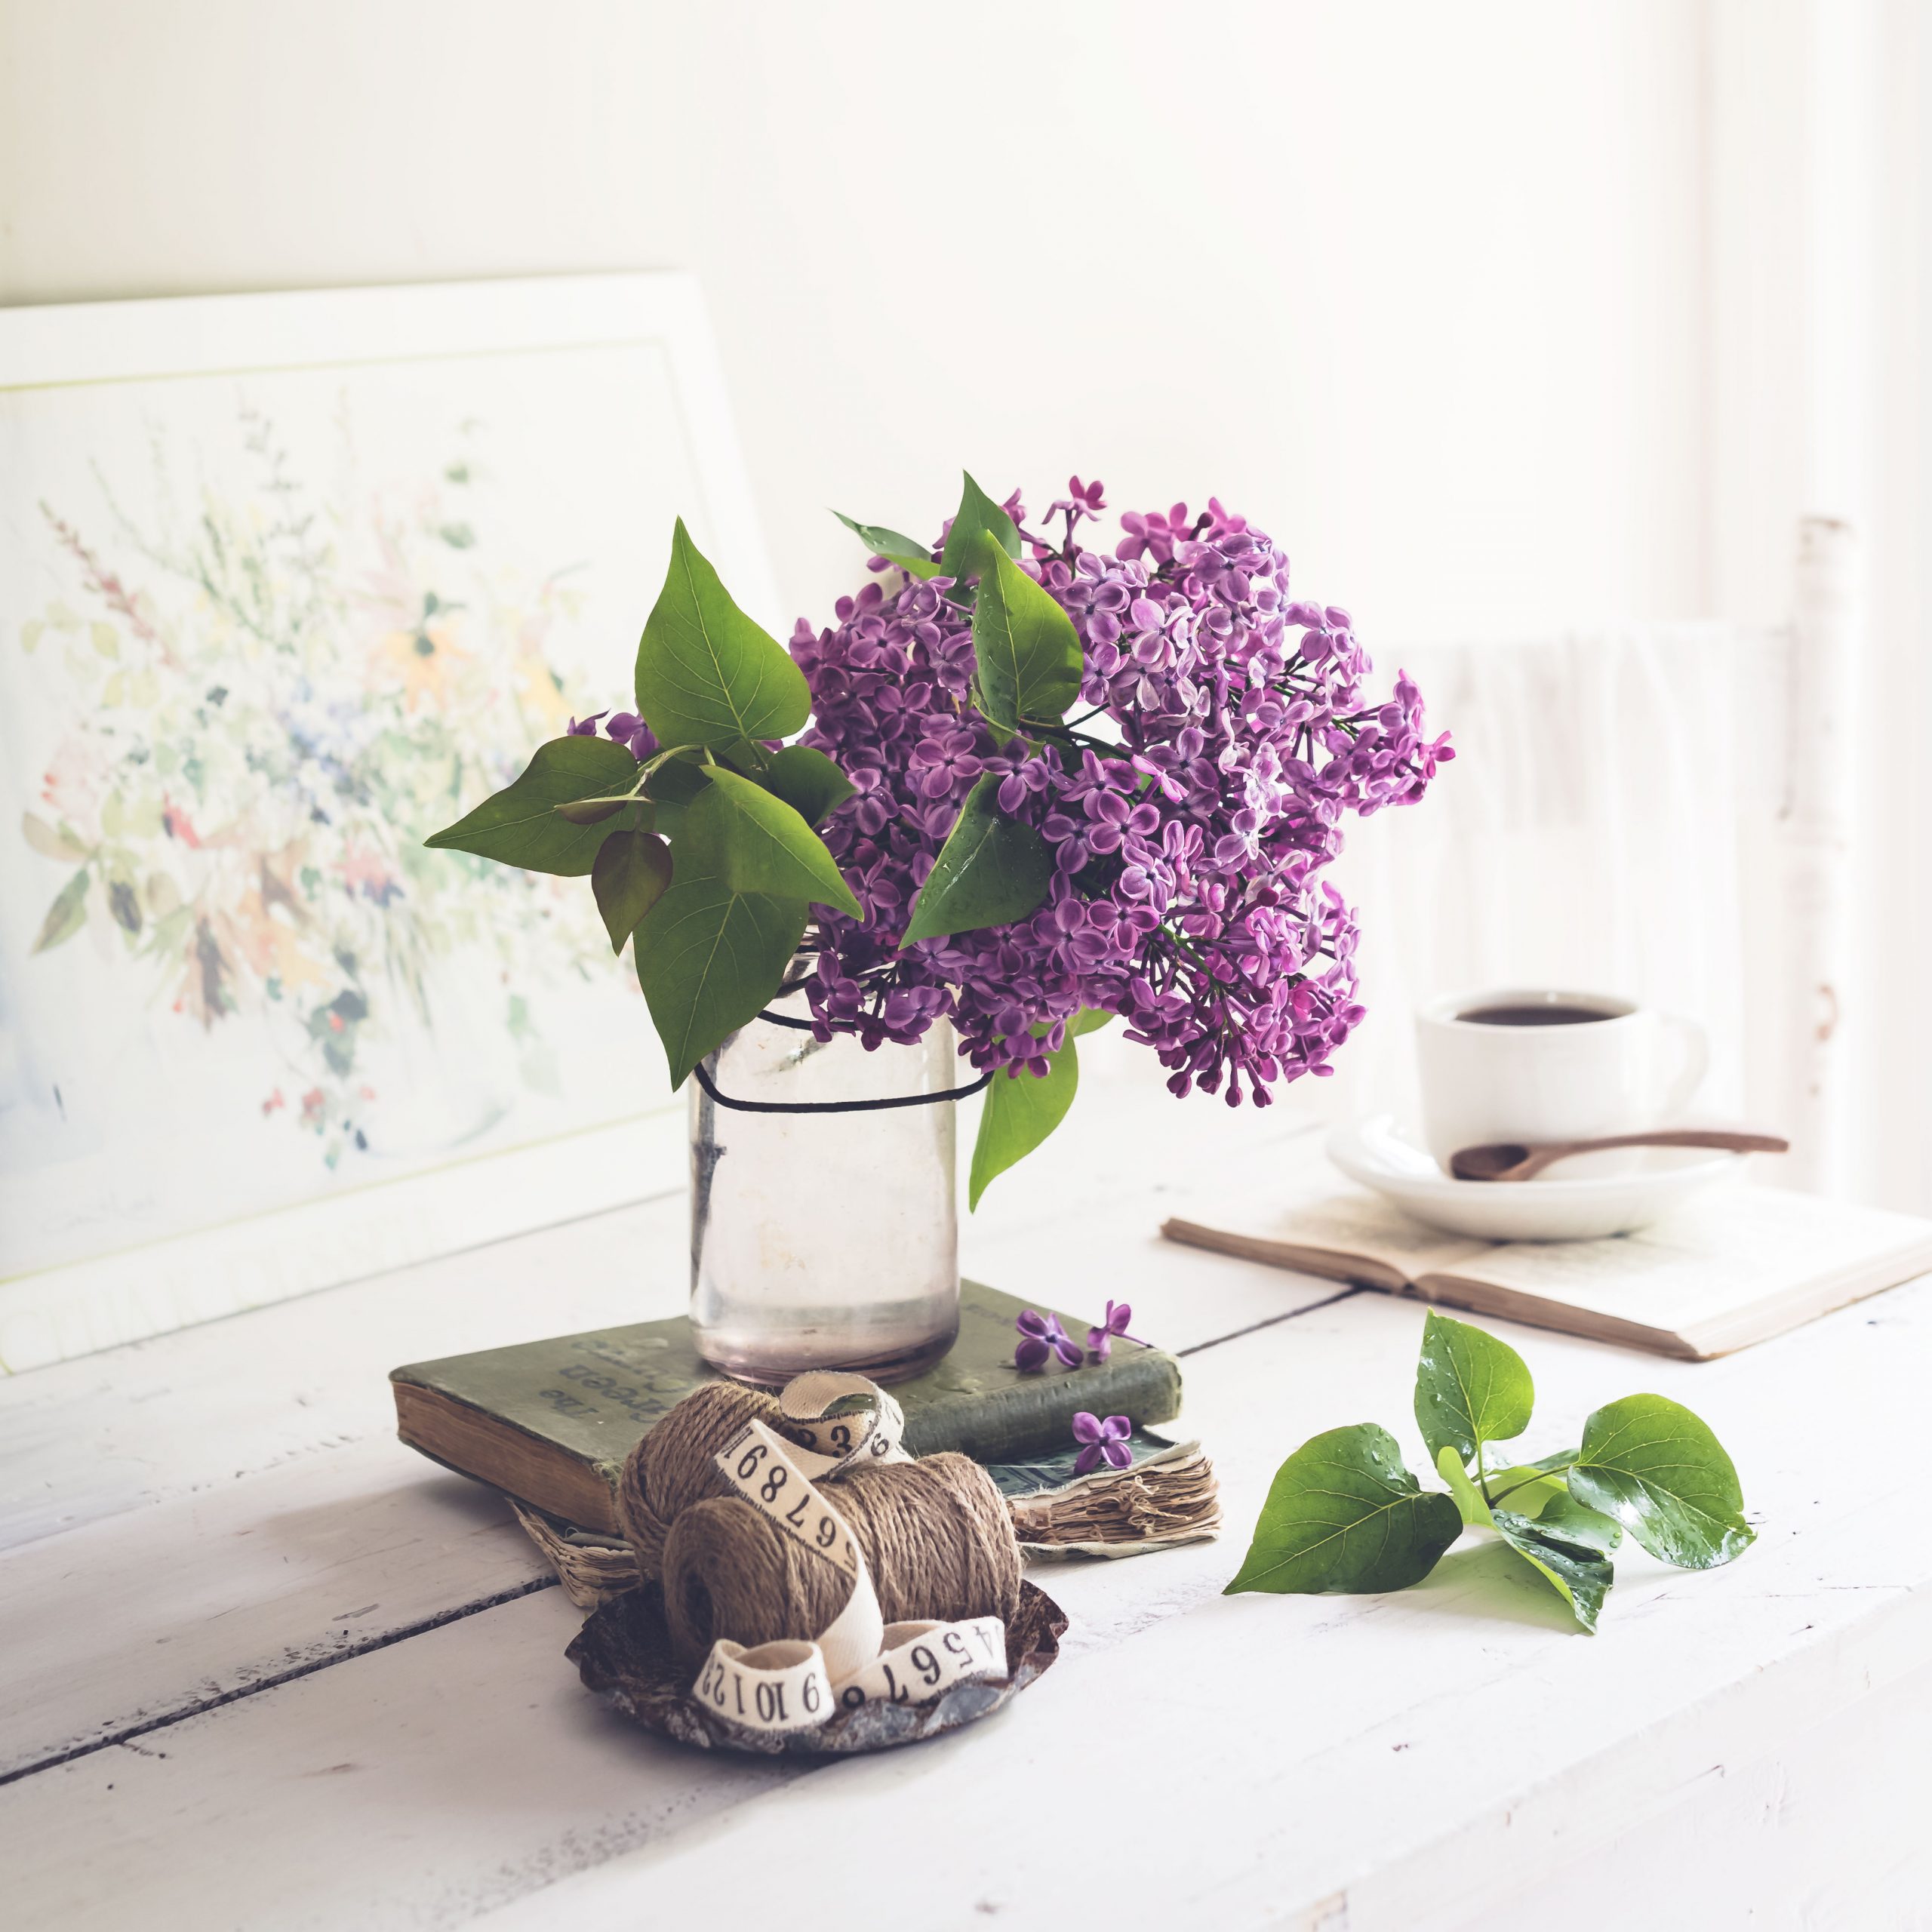
In the following photo it’s pretty obvious the bouquet of lupins is the focal point. But there are a couple techniques I used to get the viewer to look closely at the bouquet.
- It started in camera with a shallow depth of field. As you probably know, a shallow depth of field is achieved by shooting with a low f-number, or f-stop and setting the focus on the subject. Here I used my 50mm lens with an f-stop of 1.4 which brings the subject into sharper focus and blurs the background, and in this case, the foreground as well.
- I desaturated the greens in the background using the HSL Slider, then used a brush to bring it back up in the lupins and leaves.
- Lastly, I cropped closely and put the bouquet slightly right of centre.
OK, so, the above two images are the best examples, but I don’t always get it right, so I’m sharing an image that just did not work .. but .. let me explain ; )
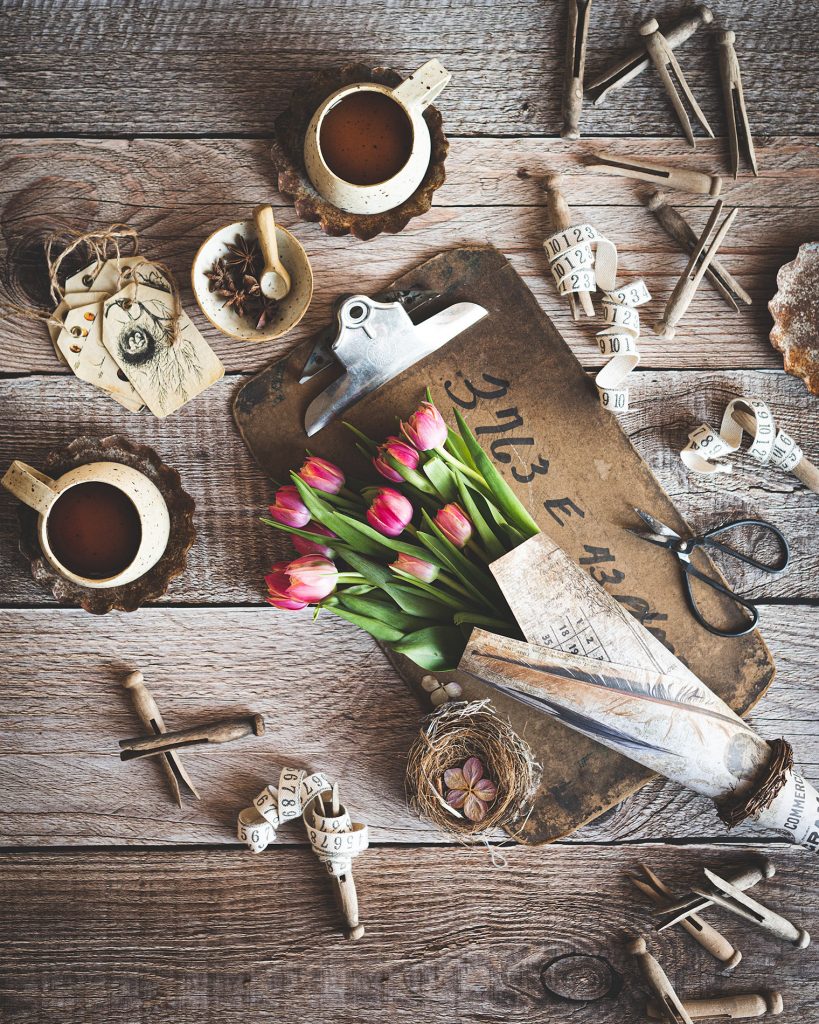
In this image the intended focal point is the tulips, but it’s not working for me. Yes, the tulips are the intended focal point, but there is just too much going on and I can hardly concentrate! yikes .. the last thing I want to cause my viewers is confusion (ahem).
So here’s the explanation for my failed attempt : )
What I was trying to demonstrate when I went about setting up the tulip flat lay was just how much a person could fit on the new 24″x36″ super smooth printed backgrounds. While I guess I may have accomplished just that, the image is so cluttered and distracting no one would spend more than a second trying to make sense of it. I admit .. total failure. Note to self: keep it simple!
Thanks again to Ann for the inspiration!
At any time if you have a question about styling or editing using my backgrounds, just ask! Ask here or on my previous post “Ask me a Question“.

Barb,
Thank you for sharing this creative information. You make everything look so easy. I appreciate you taking the time to continue to create, 5 minutes before you were having surgery ✨ I look forward to seeing what you will be doing in the next few months ✨🥾🥾 but do take it slow.
Ann xx
Hi Ann, thank you so much for your support my friend! Post-surgery I’m learning that I really have no other choice than to take it slow .. some of my dreams may have to wait, but that’s ok xo