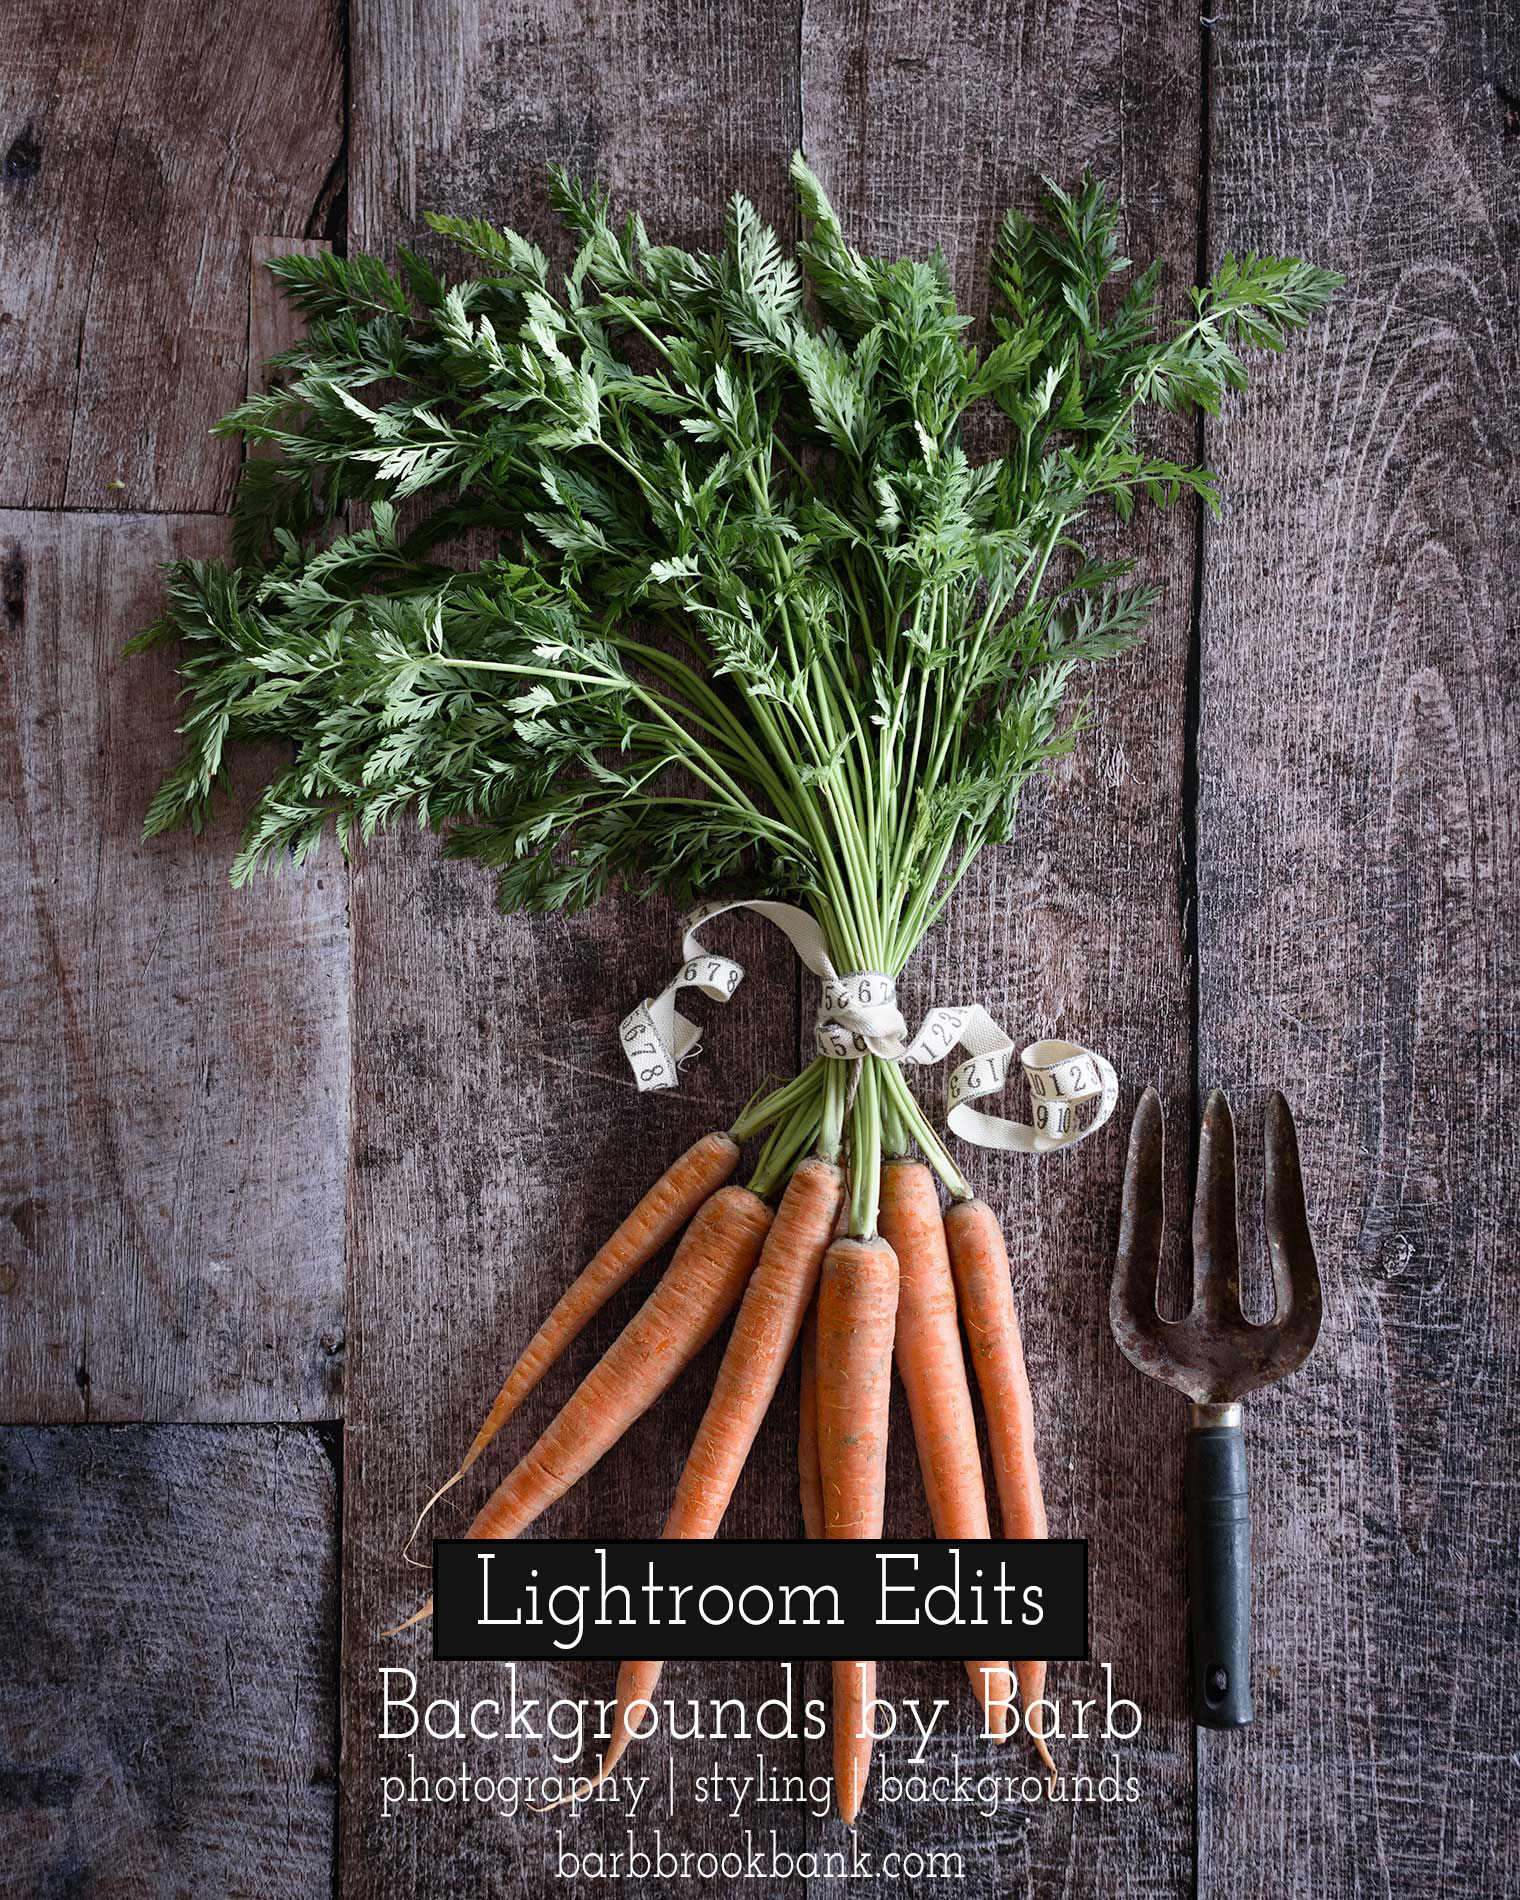
Lightroom Edits on “Workbench”
I think carrots are every bit as pretty as flowers so I thought I’d share a few Lightroom edits to bring out the best in the carrots as well in our new “Workbench” background.
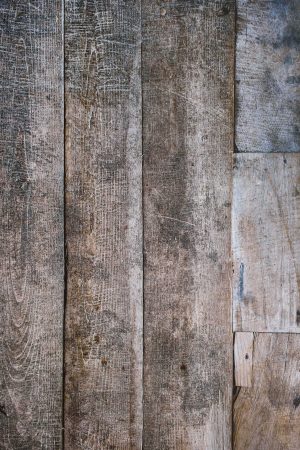
Workbench, with its one charming “patched-together” edge, comes from a time when things were fixed, not thrown out or replaced. The wood is a scratched and aged brown with hints of blue.
It reminds me of a bench in my Dads’ garage on the farm and brings back the familiar smell of oil, of dust-motes filtering through sunlight from a window, and of my Dad standing there fixing some piece of equipment from a tractor or combine.
I dream of using it as a tabletop that might be found in an old country home.

With spring around the corner, it’s going to be perfect with all the fresh veggies and herbs coming my way. Check out my edits below.

Lightroom Edits on Workbench (Carrots)
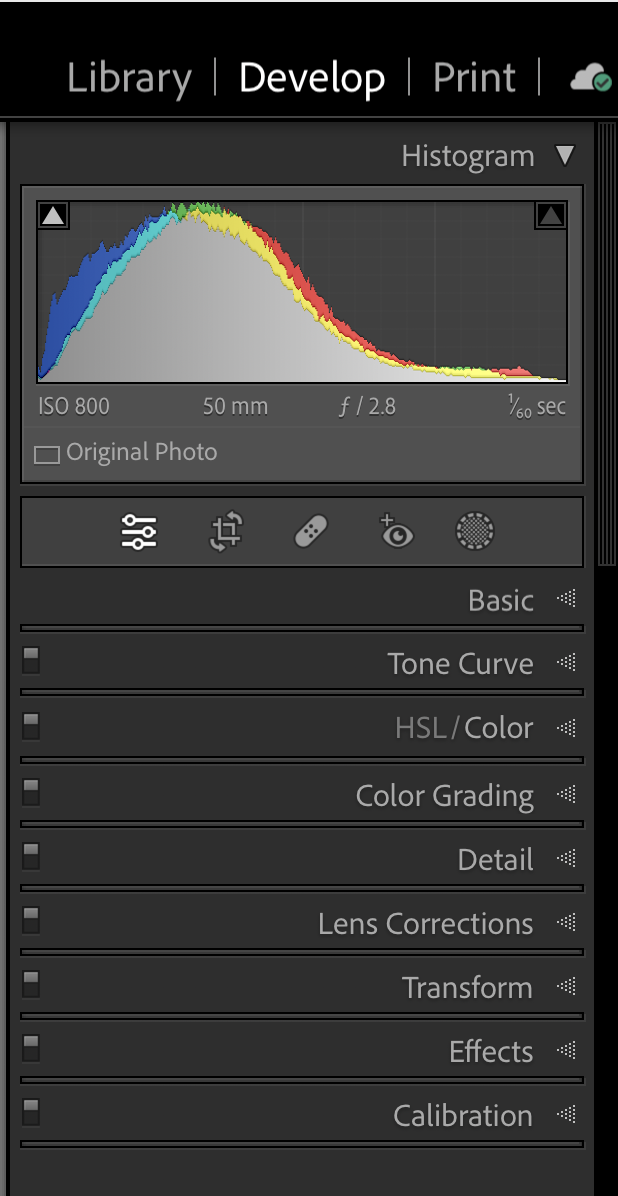
In the Develop Module click an arrow to open a drop-down menu:
- Lens Correction: apply a lens correction specific to your camera
- Transform: (to straighten lines), try an Auto Correction, but if it doesn’t do the job, check my video on Straightening Lines in Lightoom for more tips
- Crop: (found at the top of the Panel); I crop using a 4×5 ratio but you can choose whatever ratio you prefer
- Open the Basic Panel and decrease overall vibrance and saturation
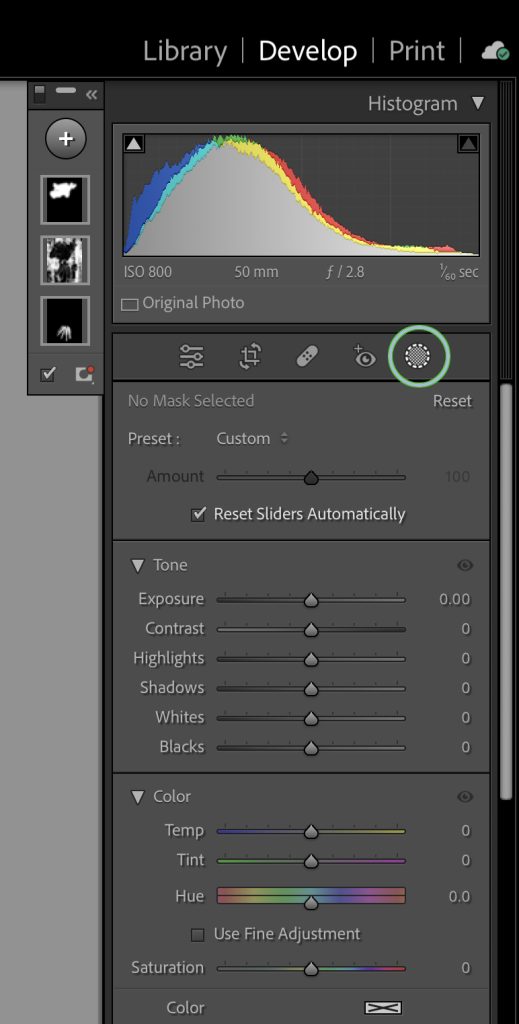
Mask Tool
- Click on the Grey Circle with the dotted white line to open the Mask Panel
- Click on the Plus Sign and choose a brush, then “paint” over the carrots to select and mask the carrots and bring back the saturation by moving the slider to the right
- Click on the Plus Sign and choose another brush, then “paint” over the carrot tops to mask and select the carrot tops and increase the highlights and texture (not the saturation)
- Try using the “Color Range” tool to select and mask the background to decrease vibrance and saturation a bit more, or you could use a brush if the color range option isn’t working for you
Lastly, I added the preset Vignetting: Medium
For EXPERT advice on using Masks, see Julieanne Kost’s Blog Everything You Need to Know About Masking in Lightroom Classic. It’s a fairly long read but it’s worth it. Her videos are excellent as well, I highly recommend watching them.
Want More Lightroom Edits?

Crop Tool Tips
The Crop Tool is a powerful tool used to crop and straighten an image while maintaining a specific aspect ratio, but have you tried using the Crop Guide Overlay?


Don’t forget to pin this for later!